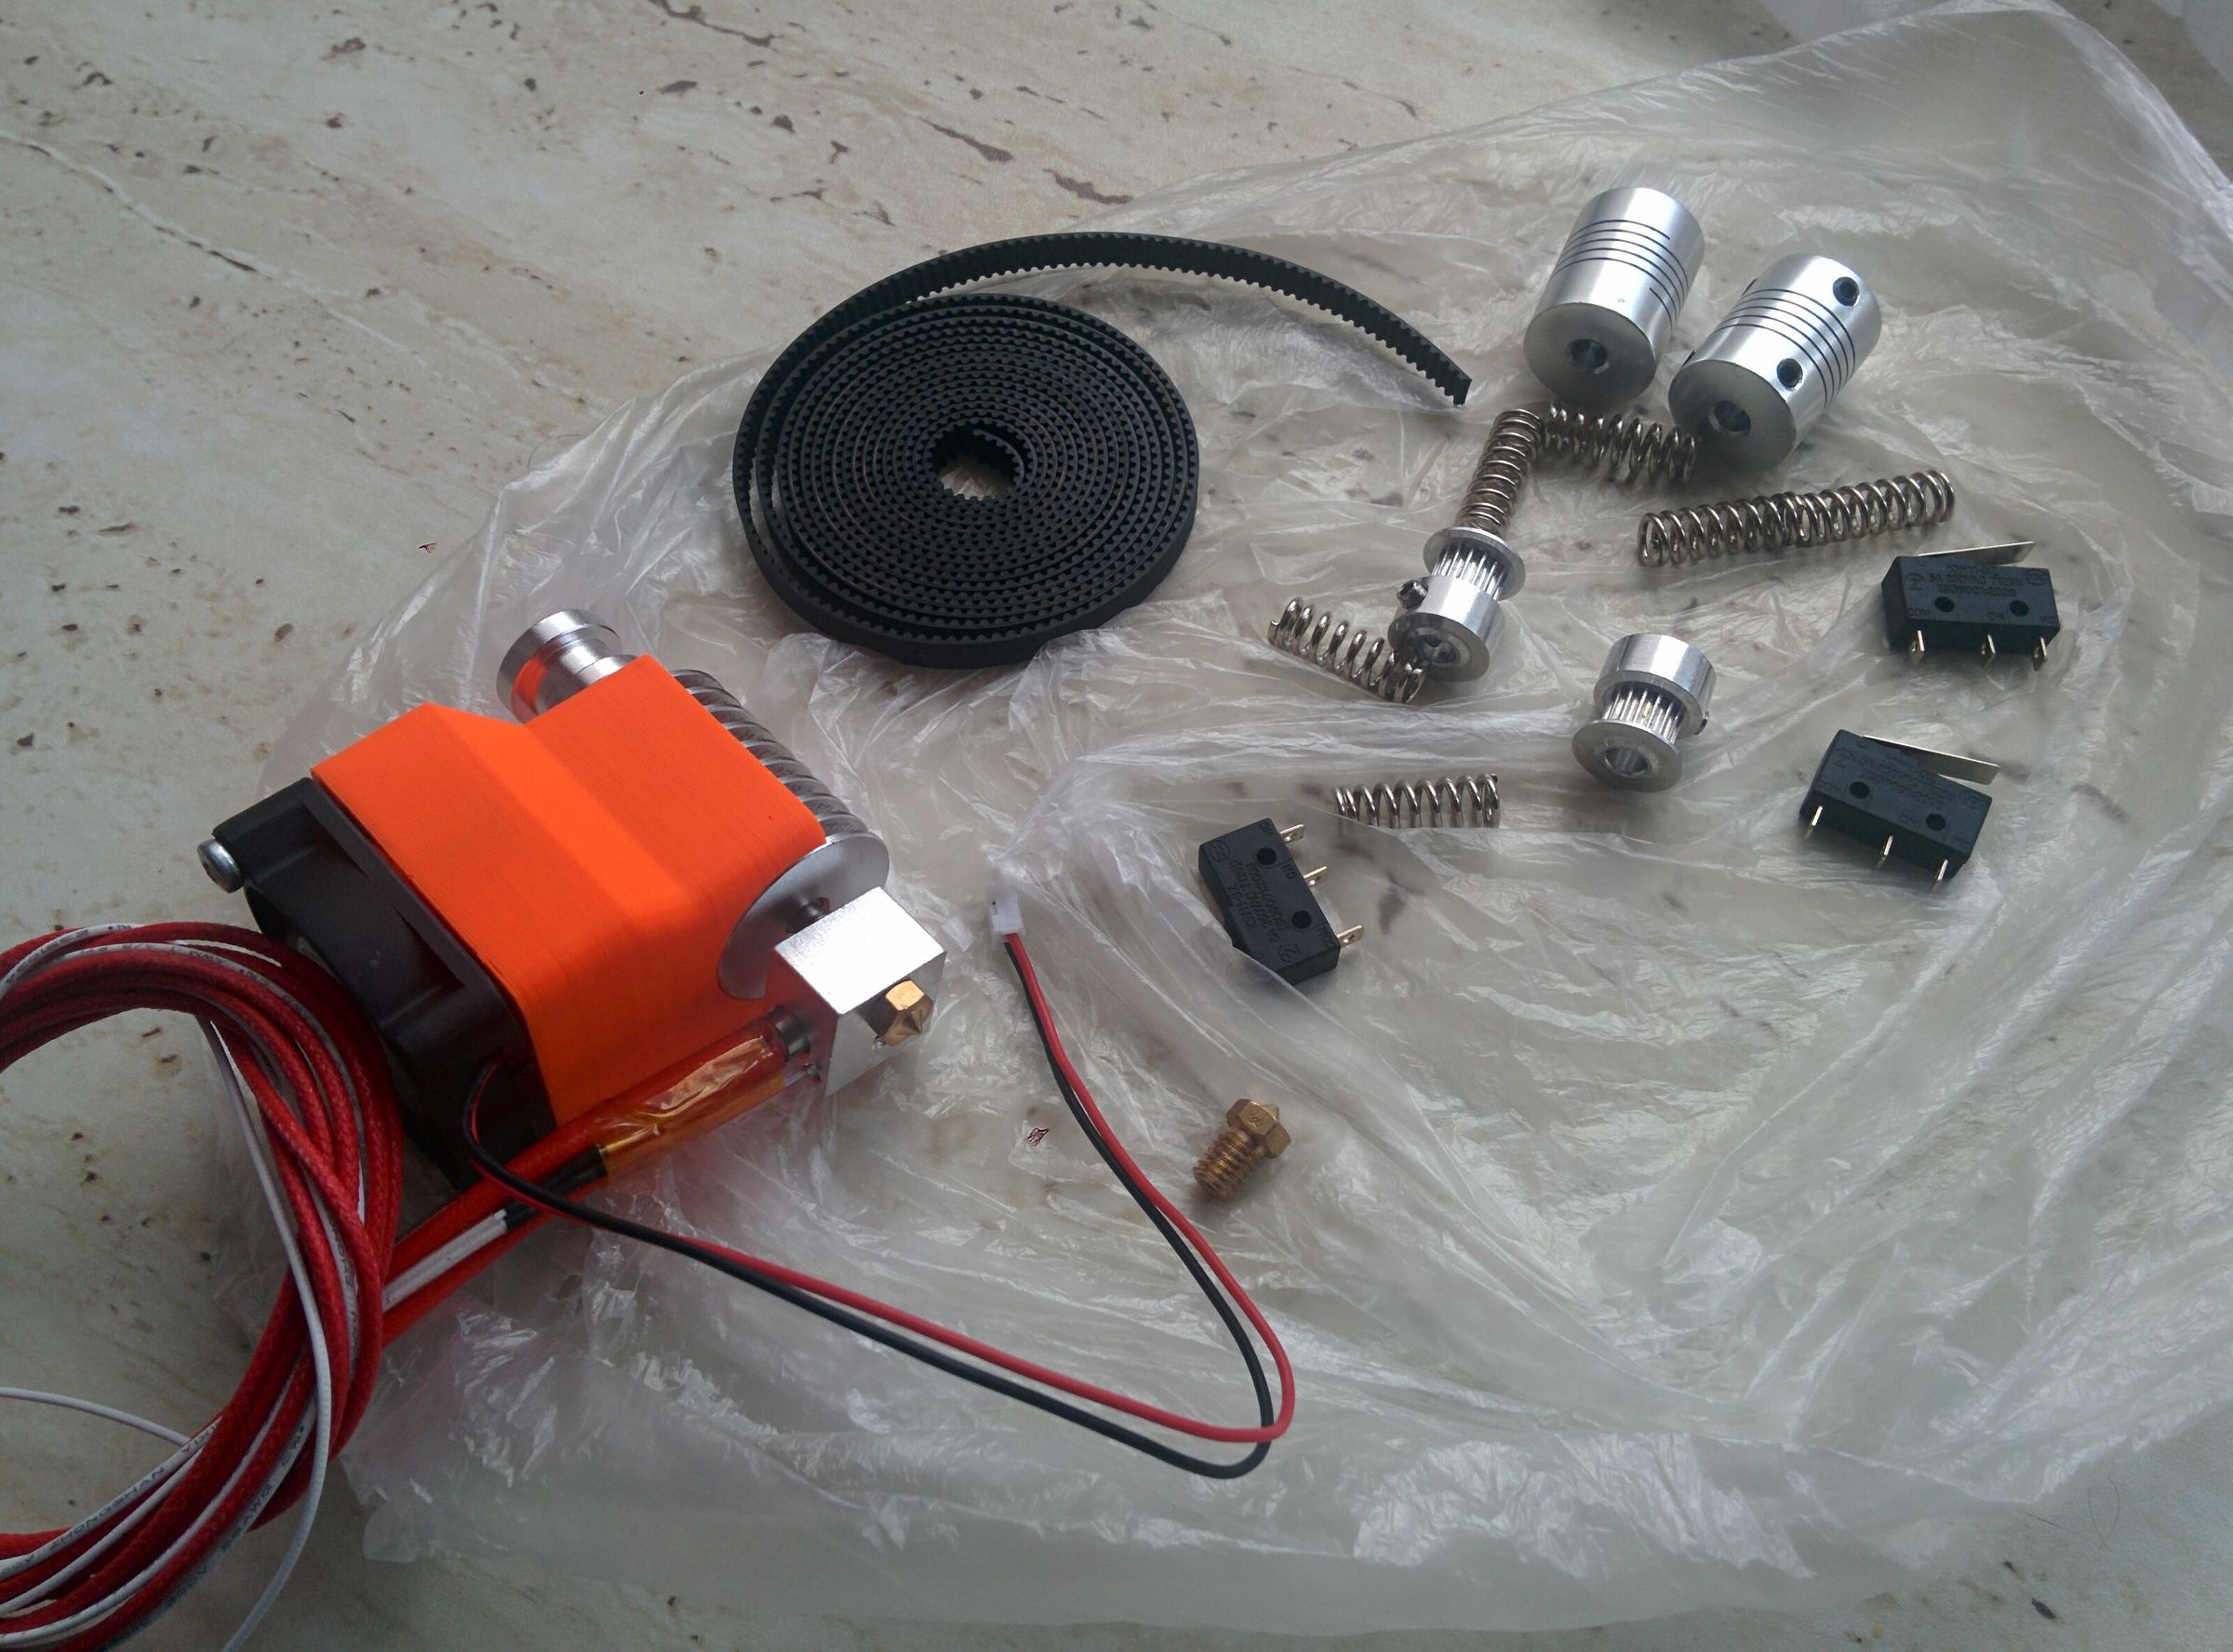
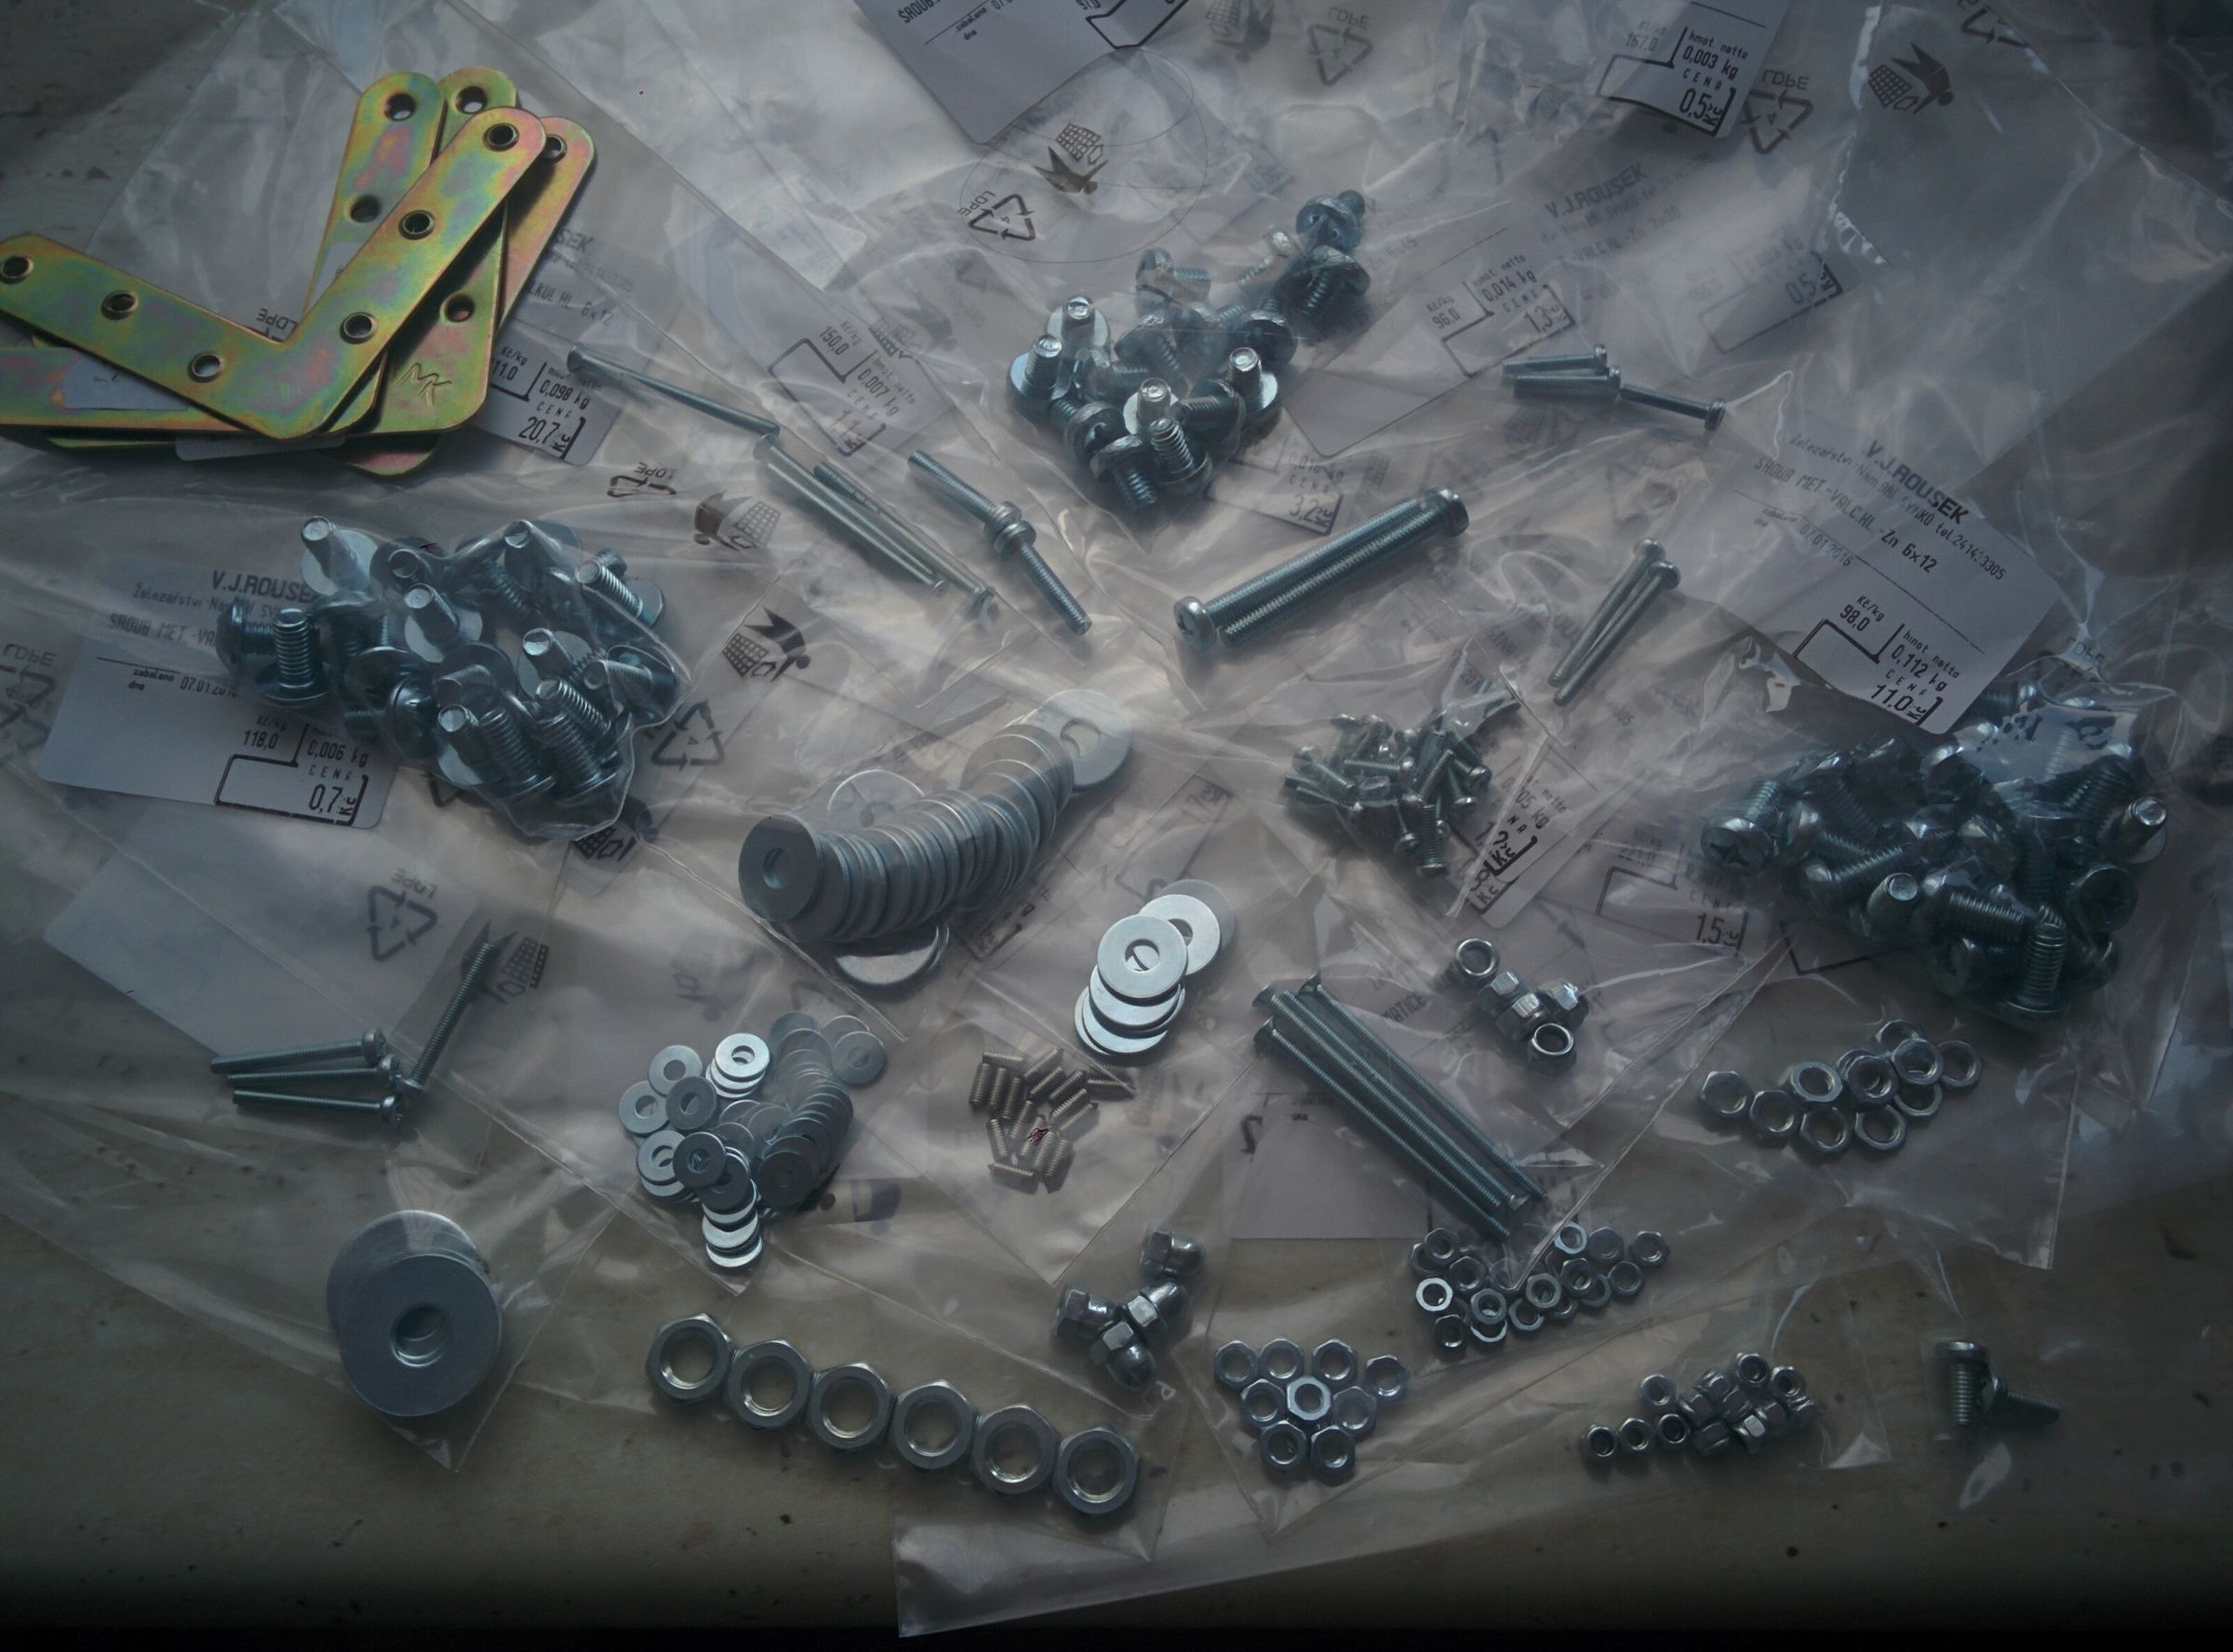
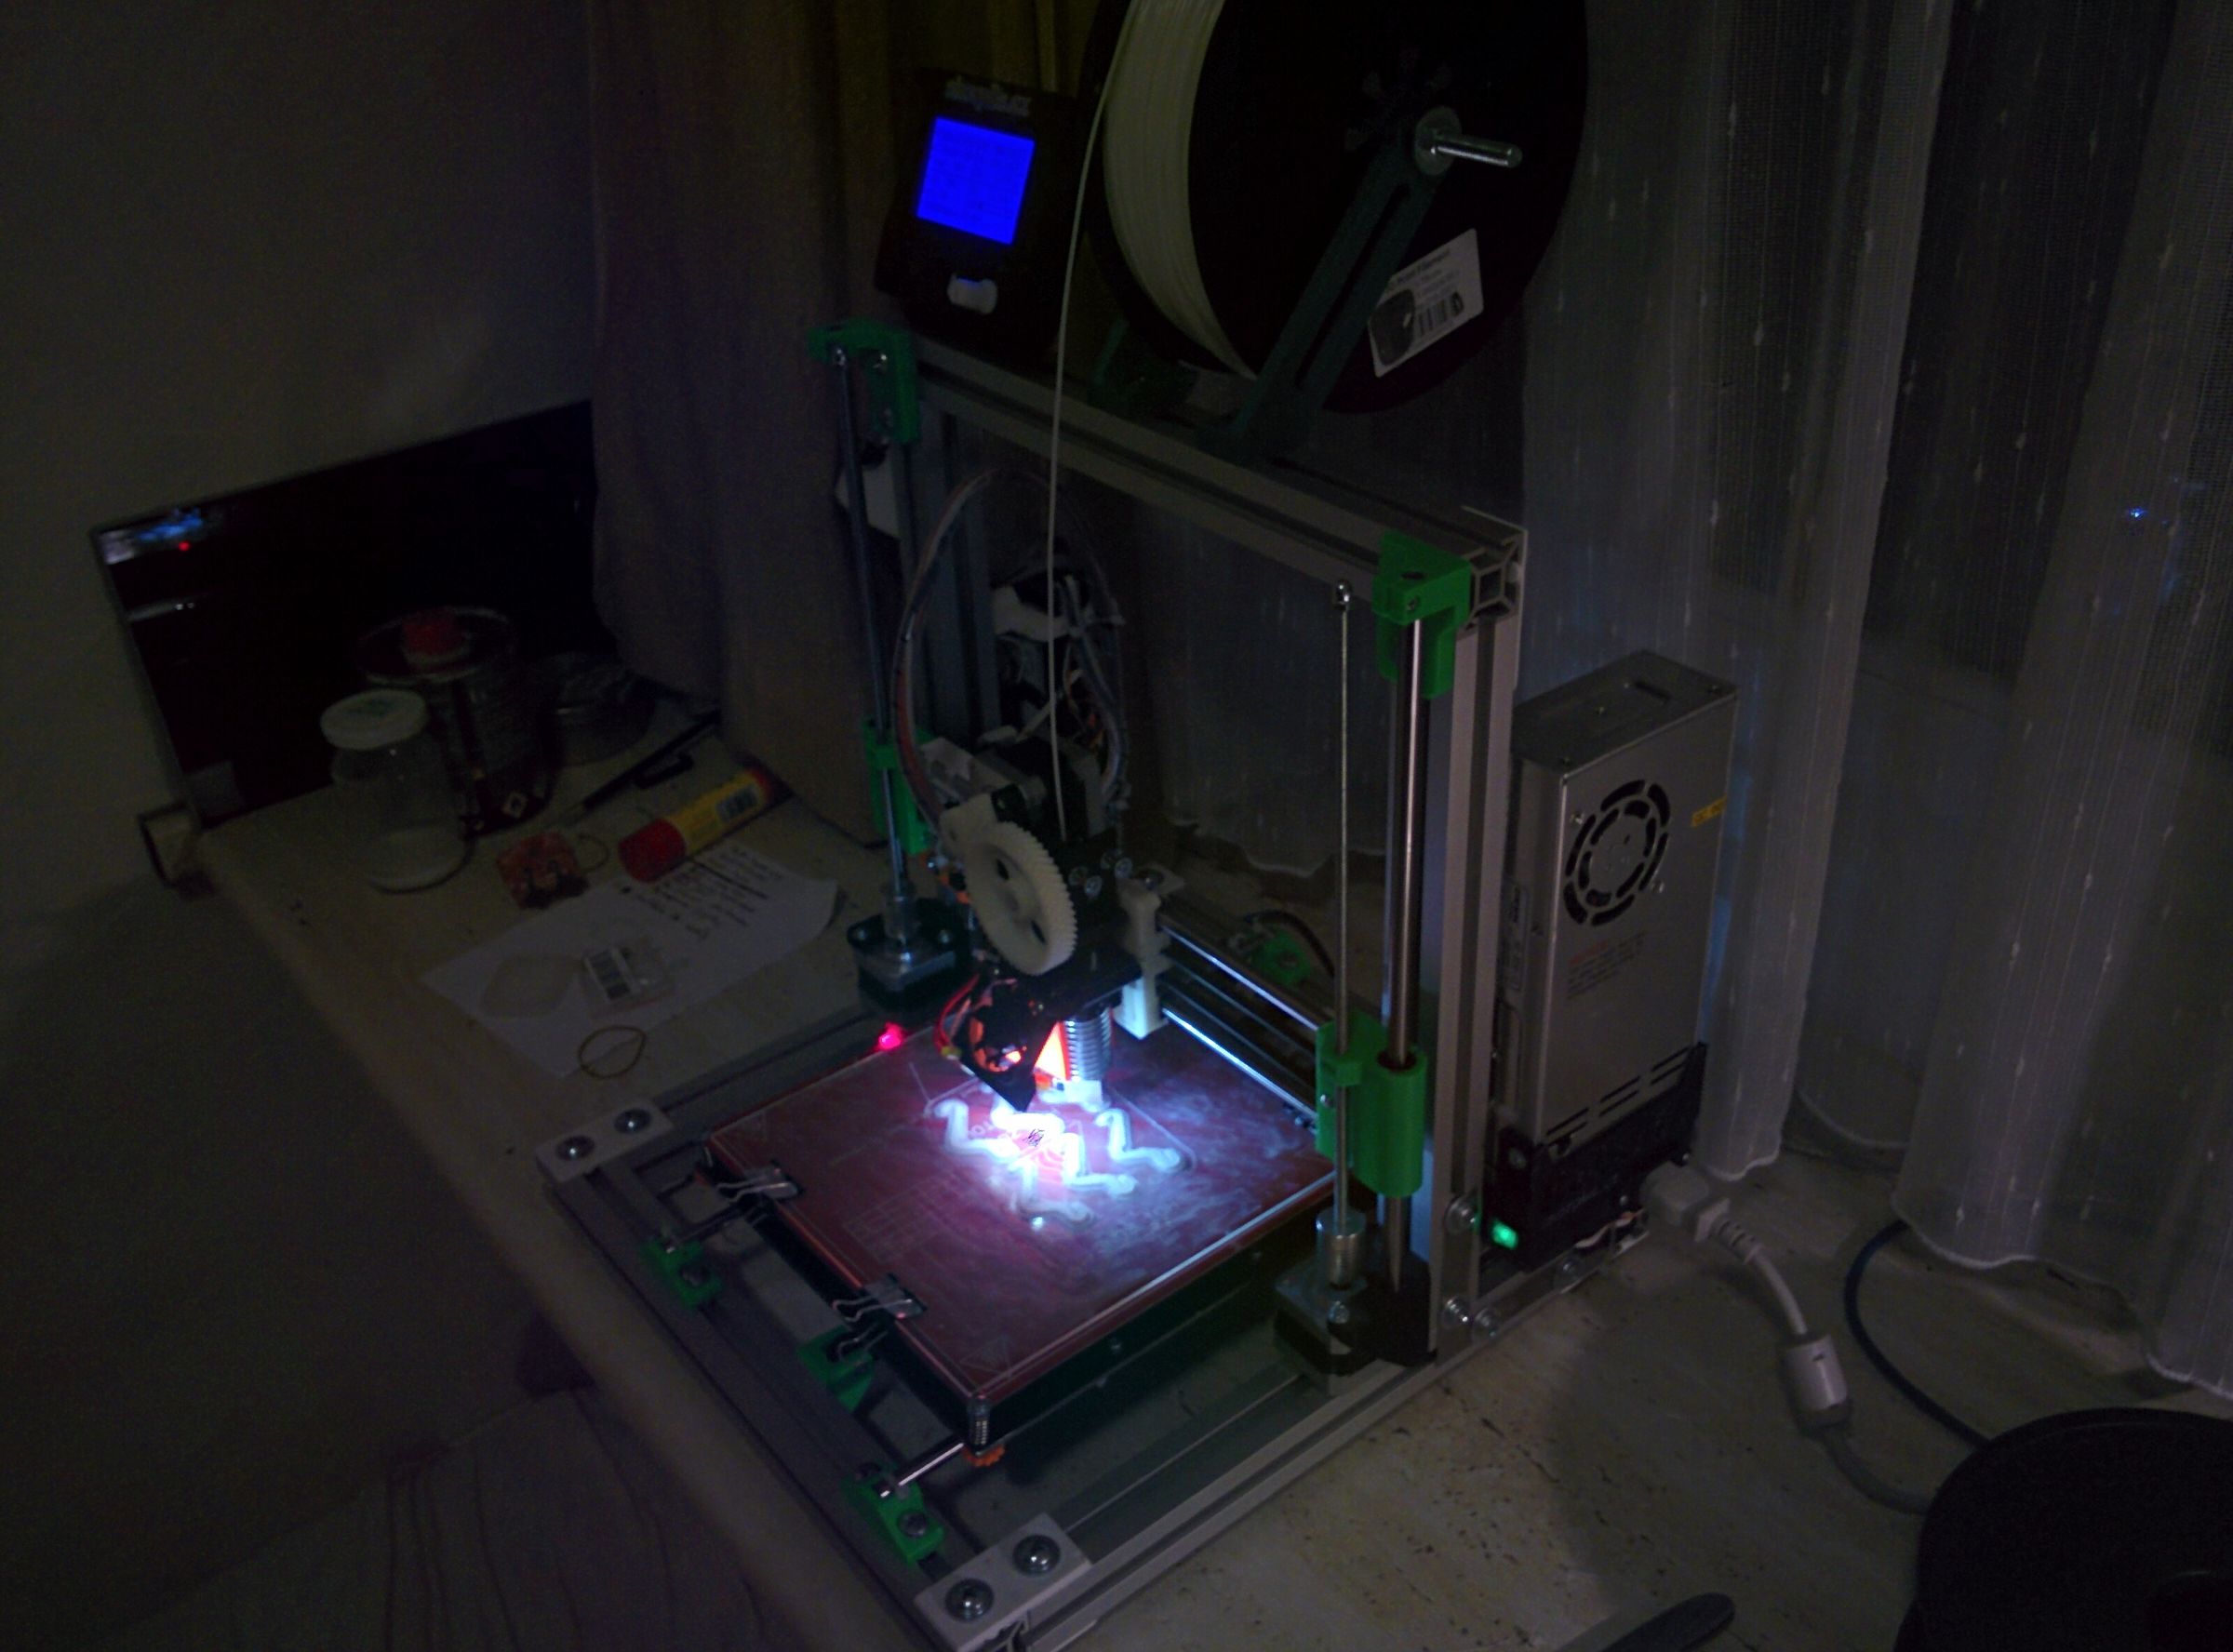
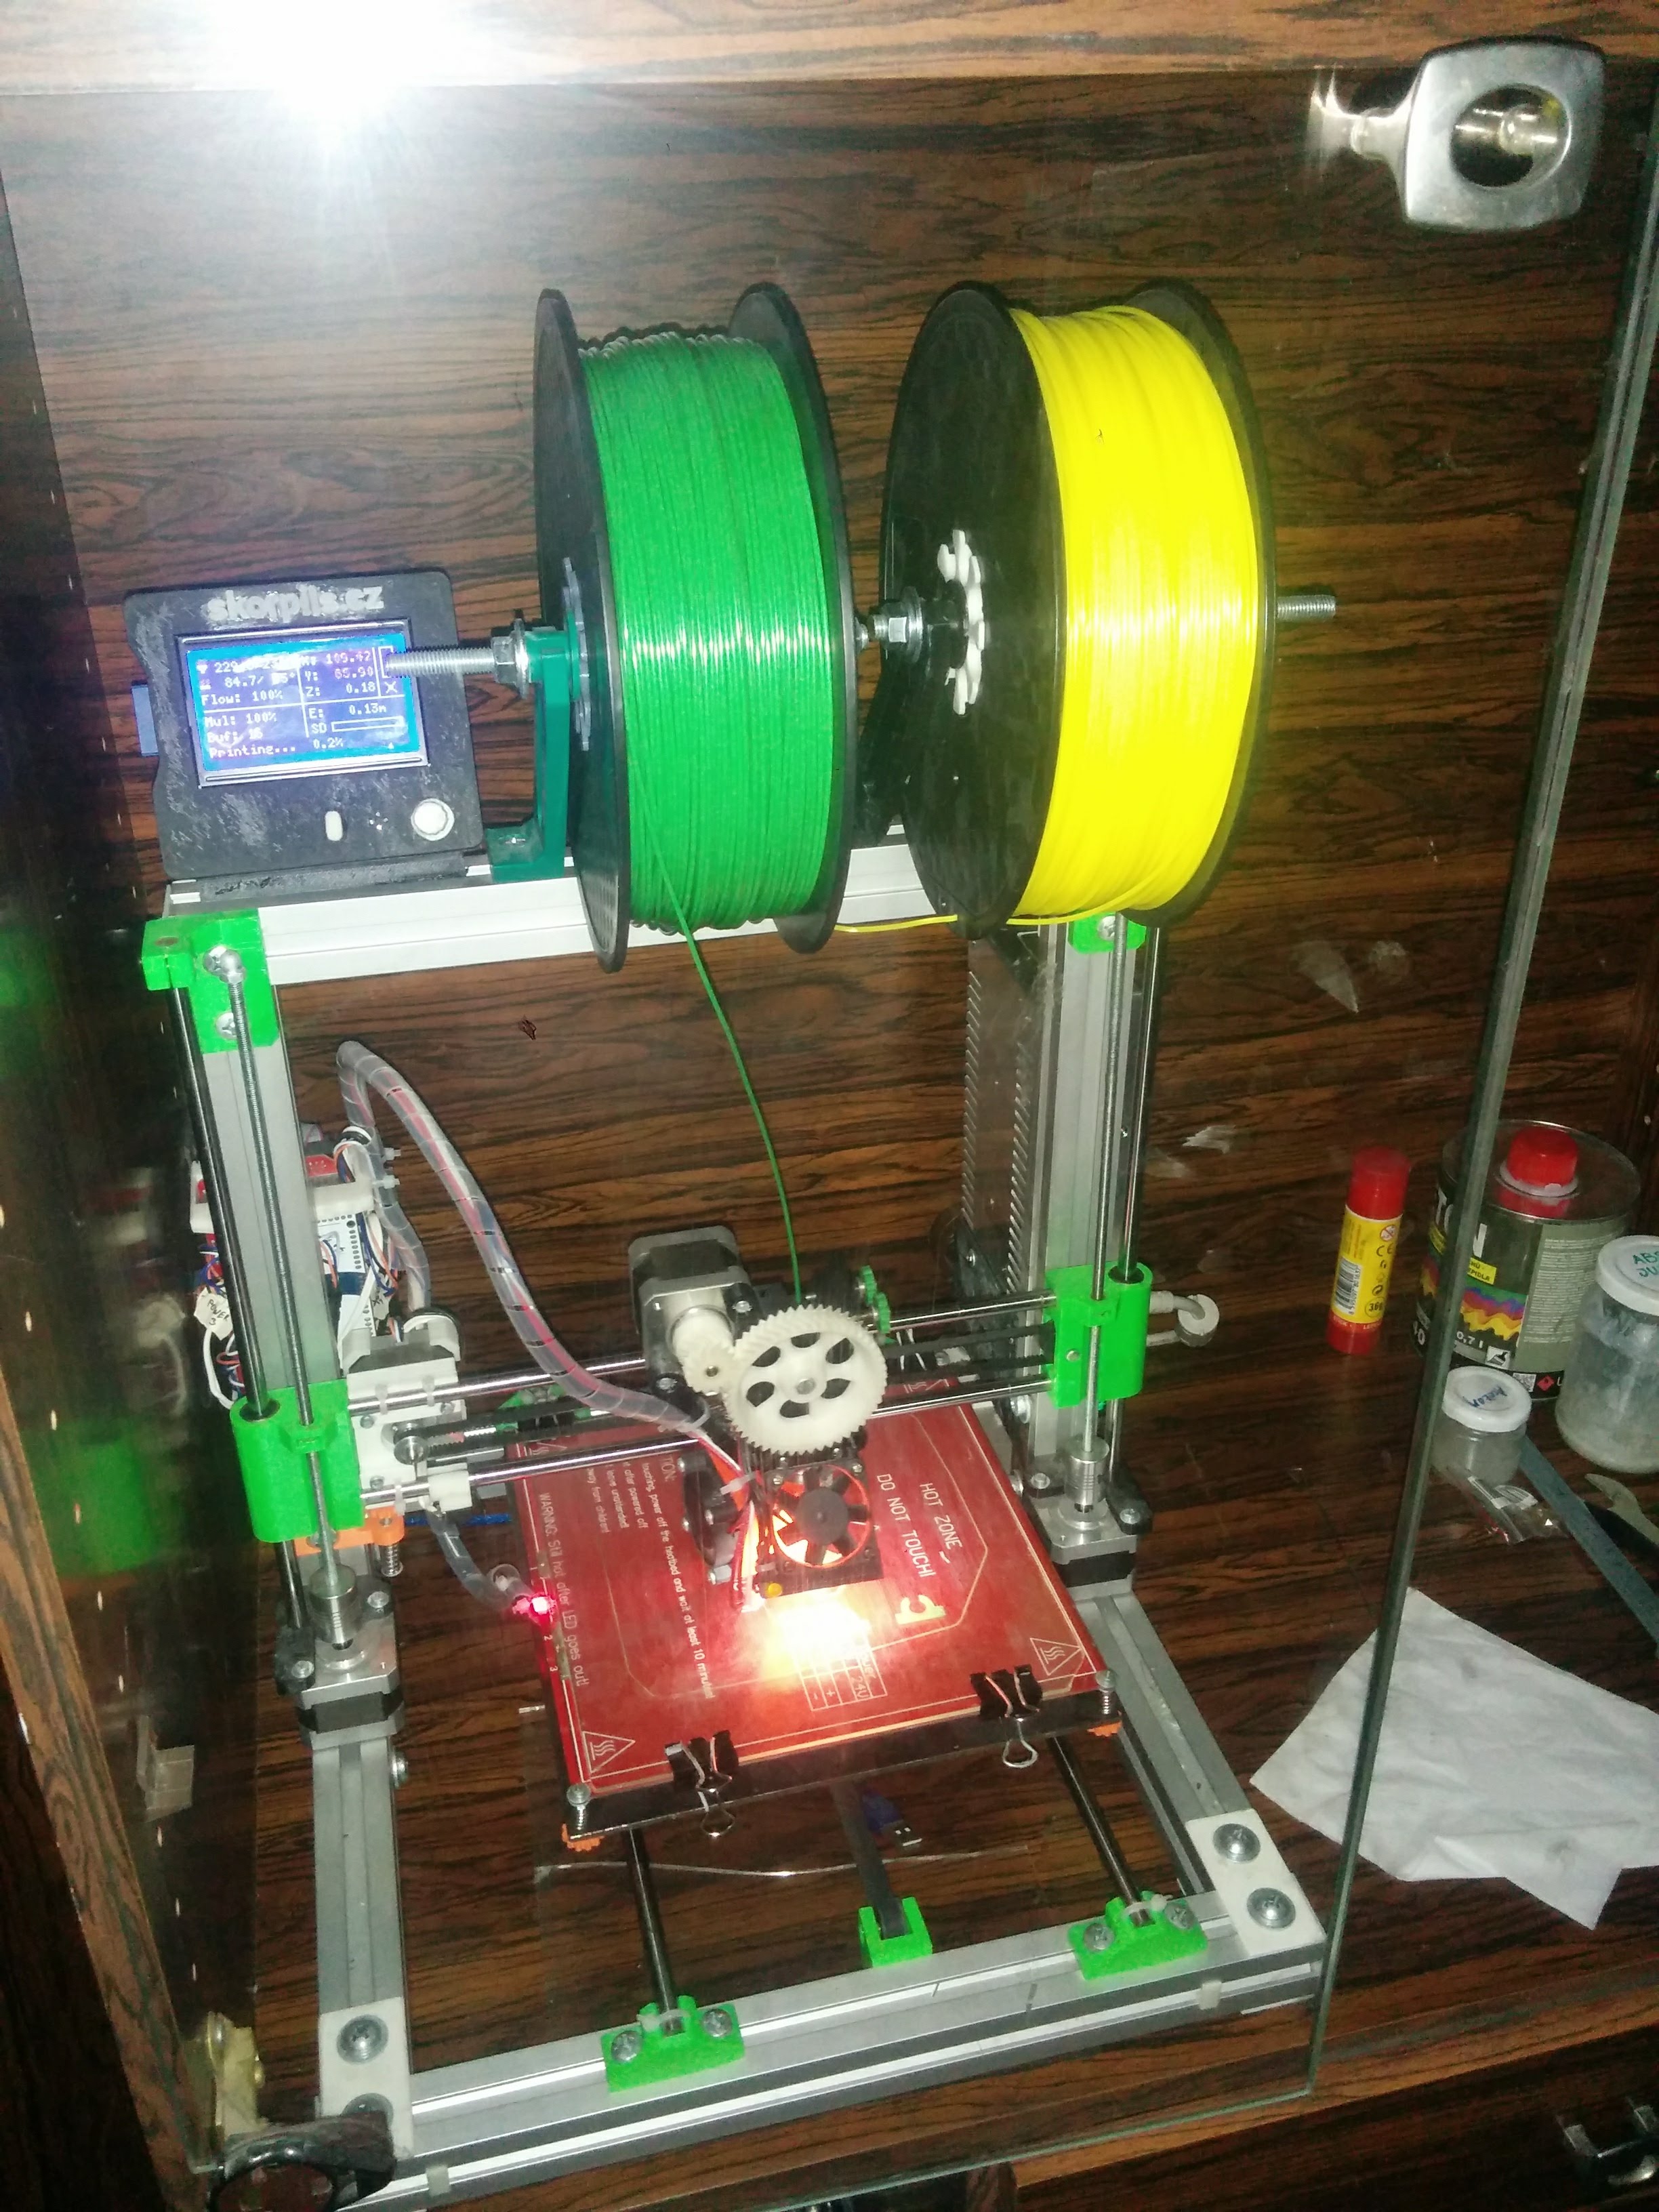
I built my own 3D printer based on open hardware RepRap printer Rebelix X2, but improved by my own design customizations. Printer consists of plastic parts made by similar 3D printer (I used 3D printers at Czech Technical University), standard aluminium profiles, stainless steel rods and bunch of nuts and screws.
How it works? The main part of the machine is extruder carrage with nozzle, which can be moved by motor form left to to right. This is mounted to an arm, wich can be moved by other motors up and down. Under the carrage there is a heated bed, wich is also moved by other motor from front to back. All these moving parts make the nozzle movable in all 3 axes.
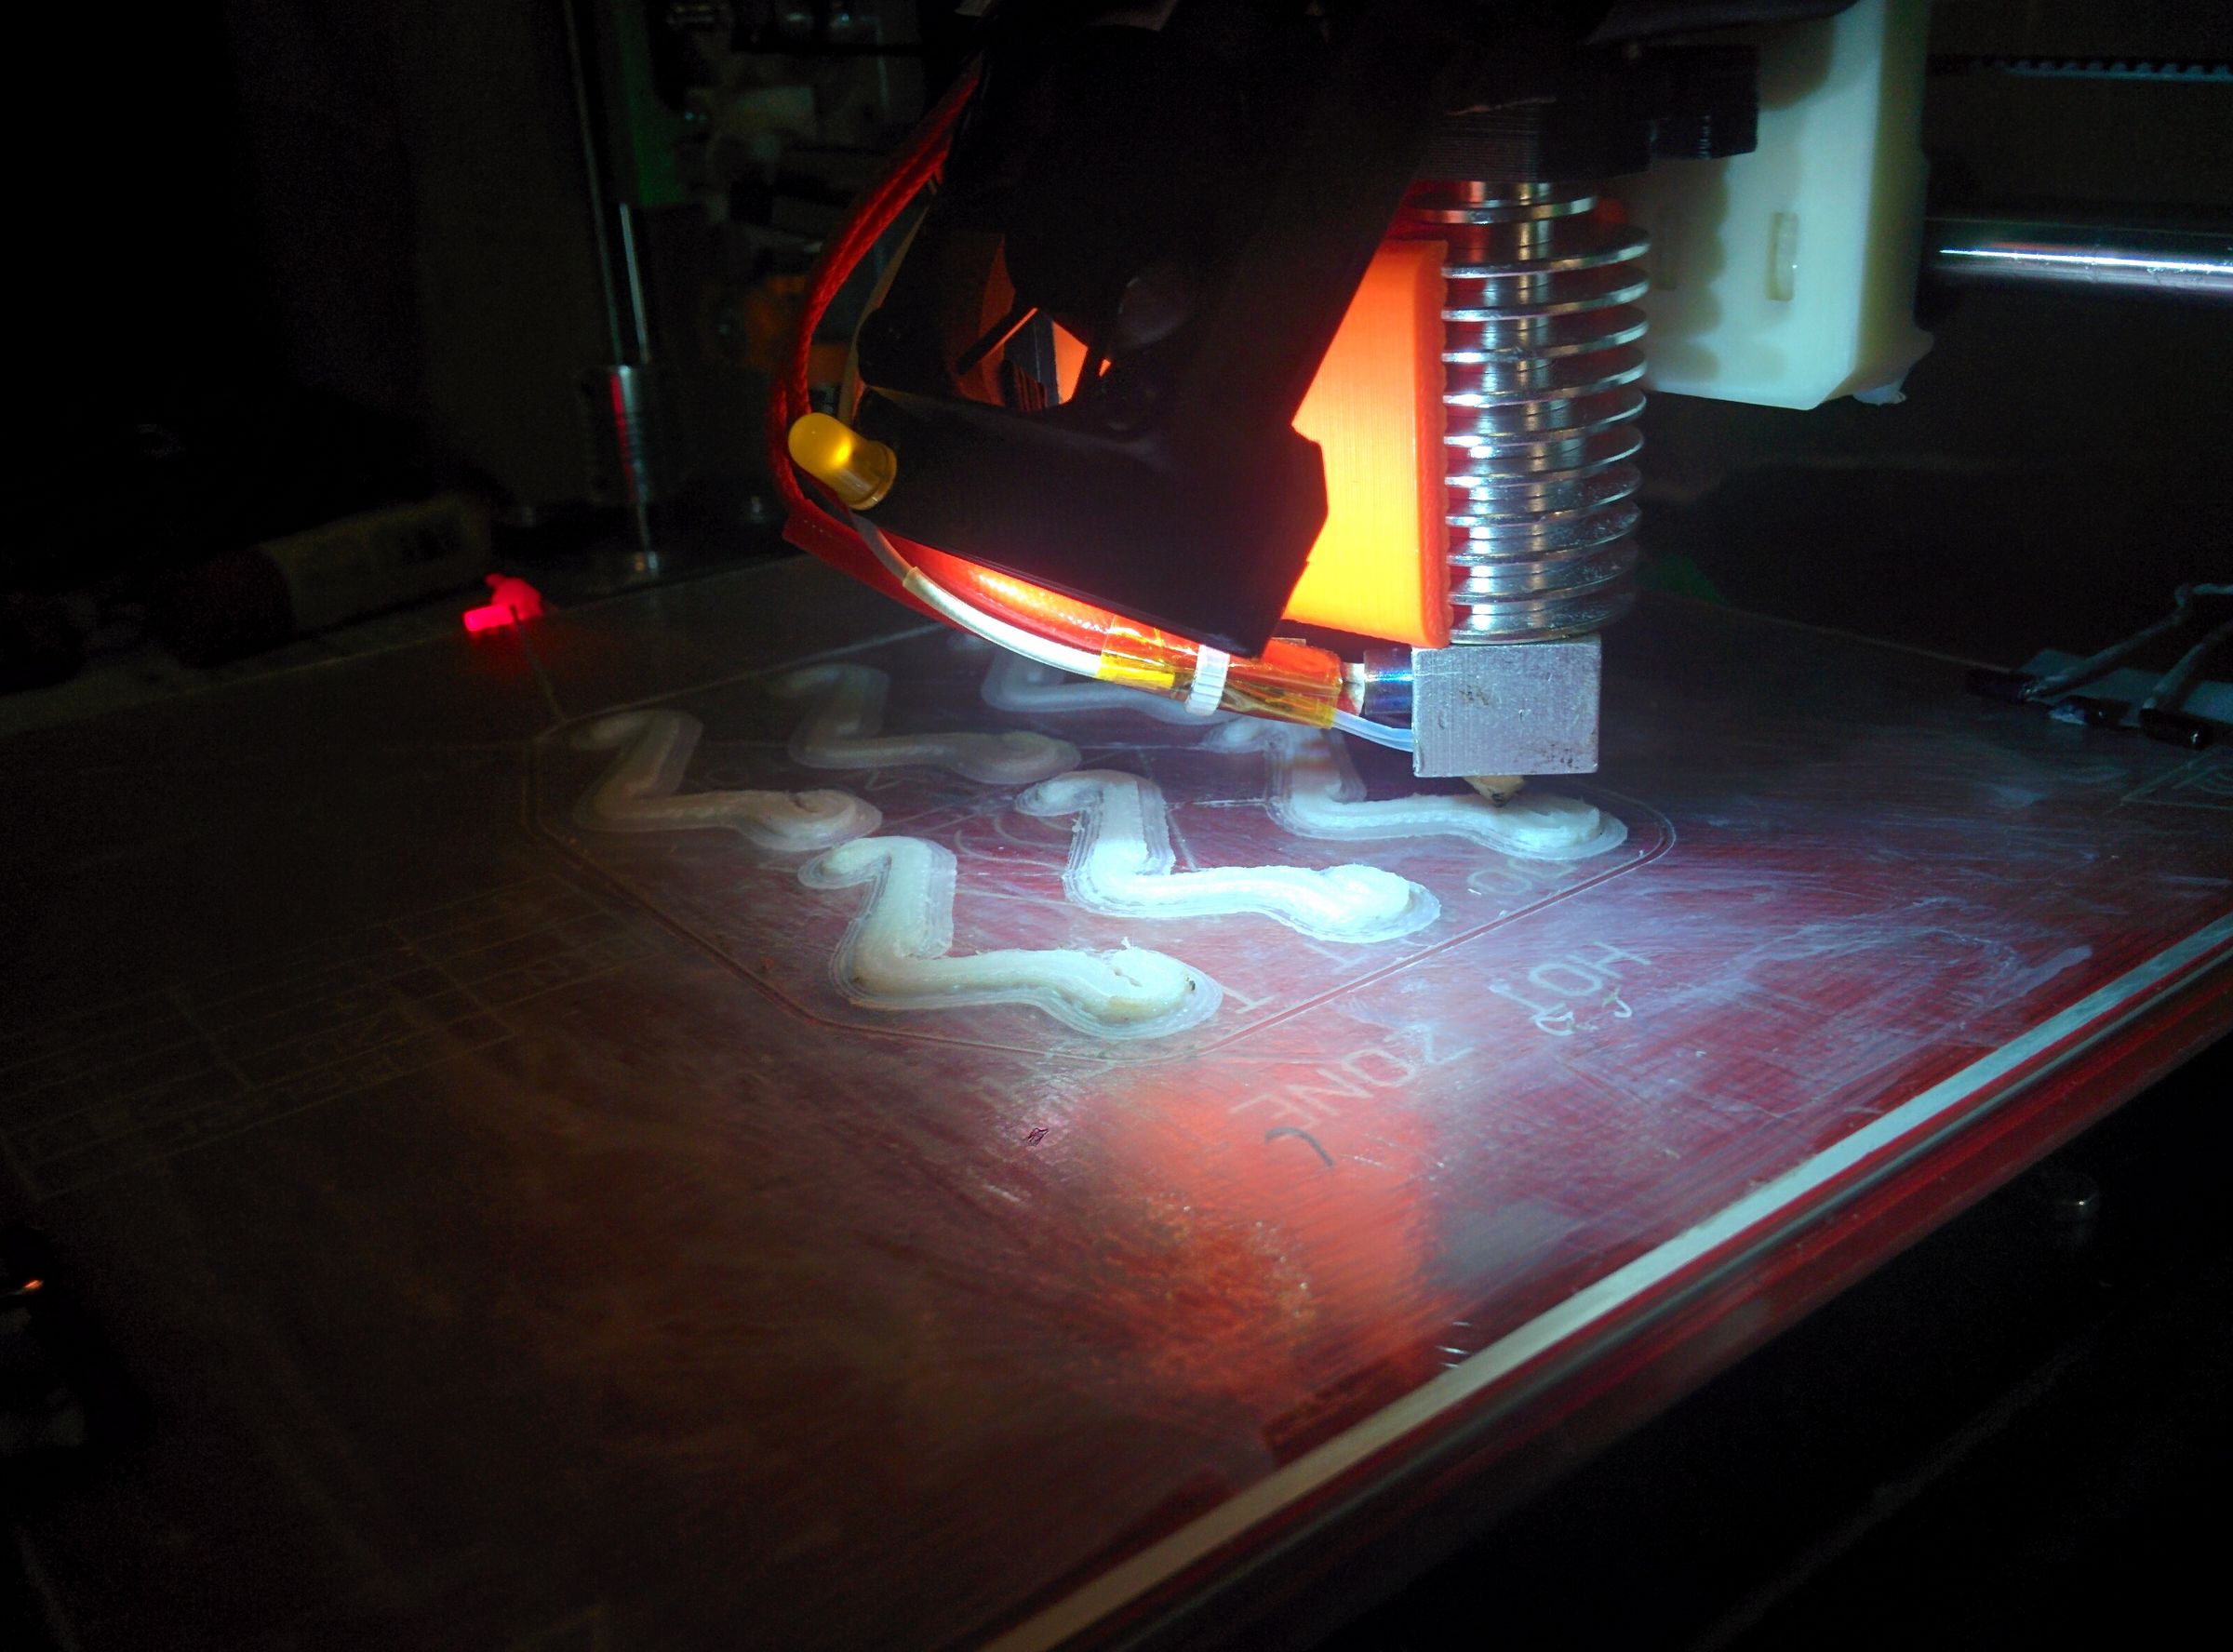
At the top of the printer there is a spool with a plastic string. String leads through drive gear to the nozzle. This motorized drive wheel pushes the string to the nozzle. At the end of the nozzle, there is a heating element, which can heat the nozzle to 250°C. The plastic in the nozle melts and flows out through small, 0.3mm wide hole at the bottom of the nozzle and this way is applied on the final object.
Plastic is applied in layers. First, the bottom layer cross-section is drawn on the heated bed, then the nozzle moves a bit higher and another layer is drawn on top of the previous one. This repeats until whole object is printed.
Printing proces is controlled by Arduino with RAMPS extension board. Arduino is a processor board with loaded software, RAMPS is a circuit board, which connects motors, display, heating elements, heating bed, temperature sensors and other needed hardware to the Arduino.
As for the firmware, I use open source project Repetier-firmware, because it offers configuration using web application. Man can easily set all the hardware parameters in easy to use menu and then download preconfigured firmware in form of source code which can be compiled and uploaded to arduino.
The purpose of the printer firmware is to read file from SD Card and execute so called GCode instructions one by one. These instructions would look like this in human language:
- Move the nozzle to coordinates x=0, y=0, z=0
- Heat the nozzle to 250°C (and wait until it is heated)
- Move the nozzle by 60mm to the left and 70mm to the back by velocity of 20mm/s
- Move the nozzle by 5mm to the right and 3mm to the back by velocity of 20mm/s and extrude 2mm of plastics
The firmware does a lot (reads form the SD card, handles temperatures and heating, shows info on display...), but in fact it is all about executing a batch of instructions from file. These instructions must be prepared for the printer by other software named slicer. And this is the clever part. Slicer takes the 3D model of an object and converts it to the GCode. The slicer software I am using is called Slic3r.