The first version of my 3D printer was working fine, but as time passed, I found few things that could be improved.
I started to experiment with 2 colour prints and my one-nozzle printer was limiting me to only use two tricks. I had to print two colour parts separately and then glue them together, or manually edit g-code to make printer ask for a filament change in the proper print layer. Both these techniques can be used only on some very special cases, more complicated objects couldn't be printed this way.
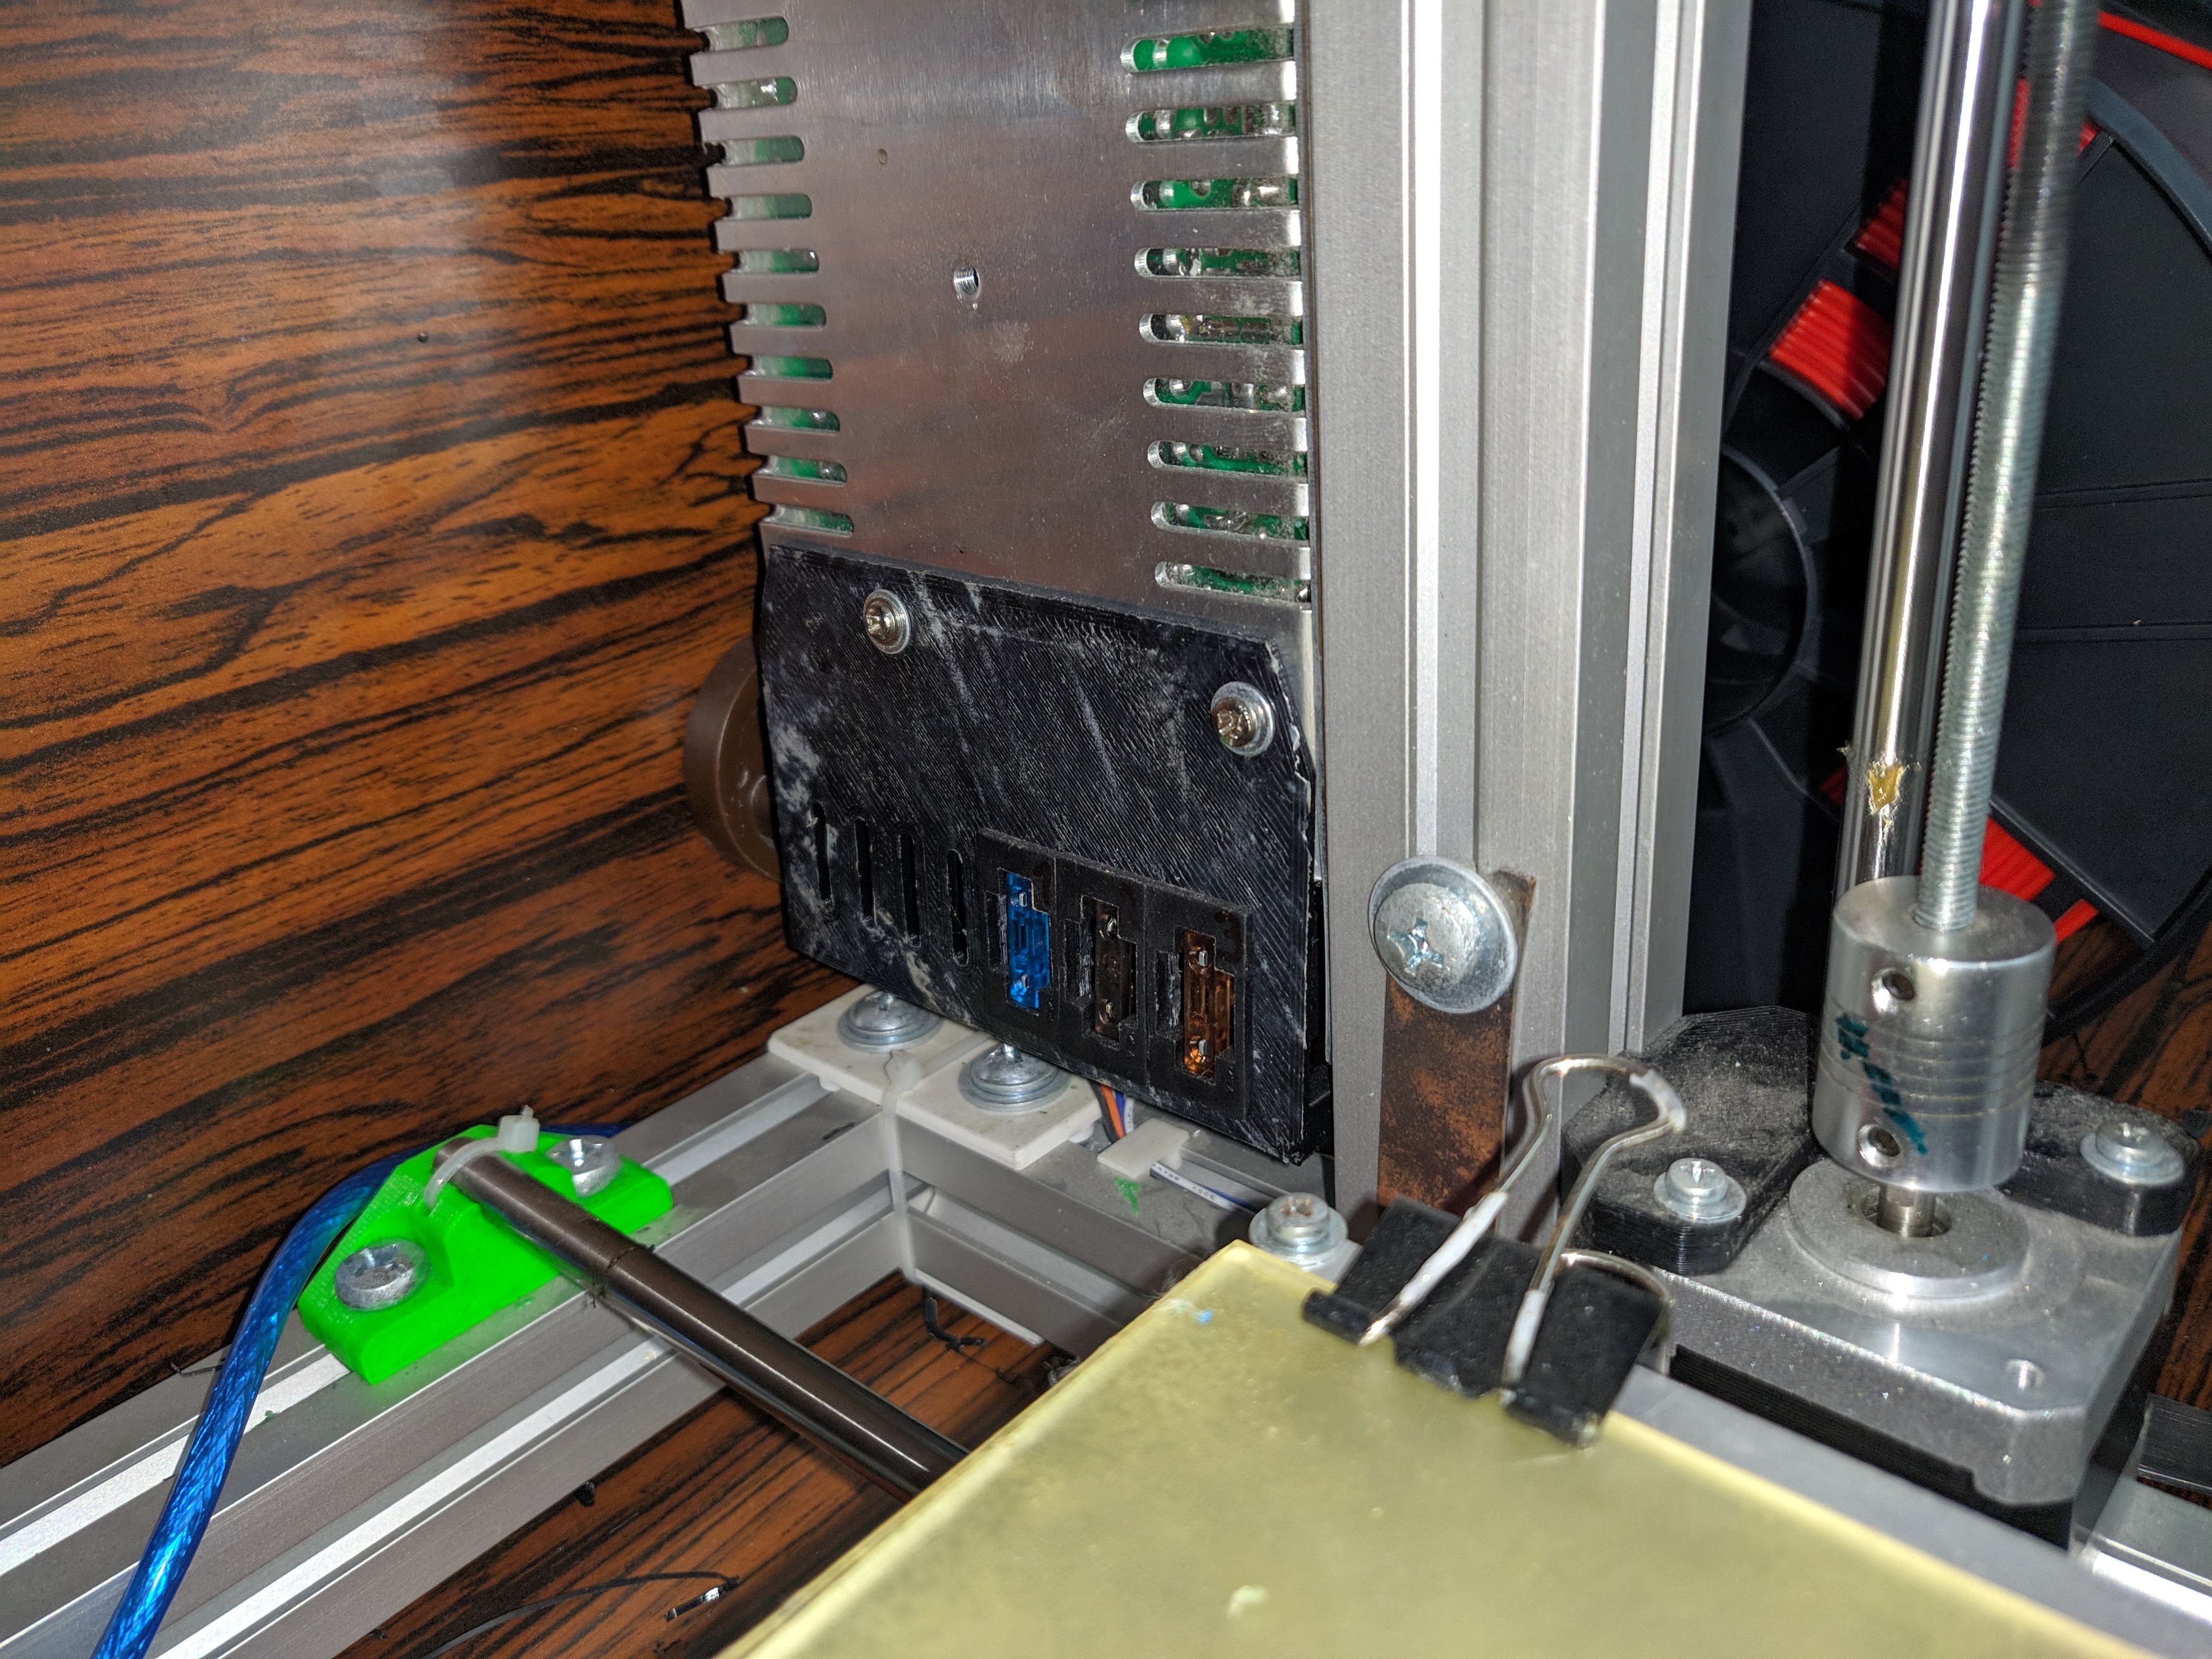
Another problematic parts of my printer were fusions on RAMPS board. They are designed in a way, that in case of short circuit the high current flow increases their temperature and in this conditions they break the circuit. After they cool down everything is working again. The problem was, that these fusions were heating up too soon and disconnected in the peak power - during initial nozzle and bed heating.
Last problematic element was the heated bed. I used a bed coverd with glass. To make the printed object stick on the bed, I had to cure it with thin layer of plastic. It means to paint it by paper glue and then by abs dissolved in acetone. And also wait a while until it's completely dry. This is very annoying process and also the thin plastic cover stays imprinted into the bottom layer of the object which doesn't look well.
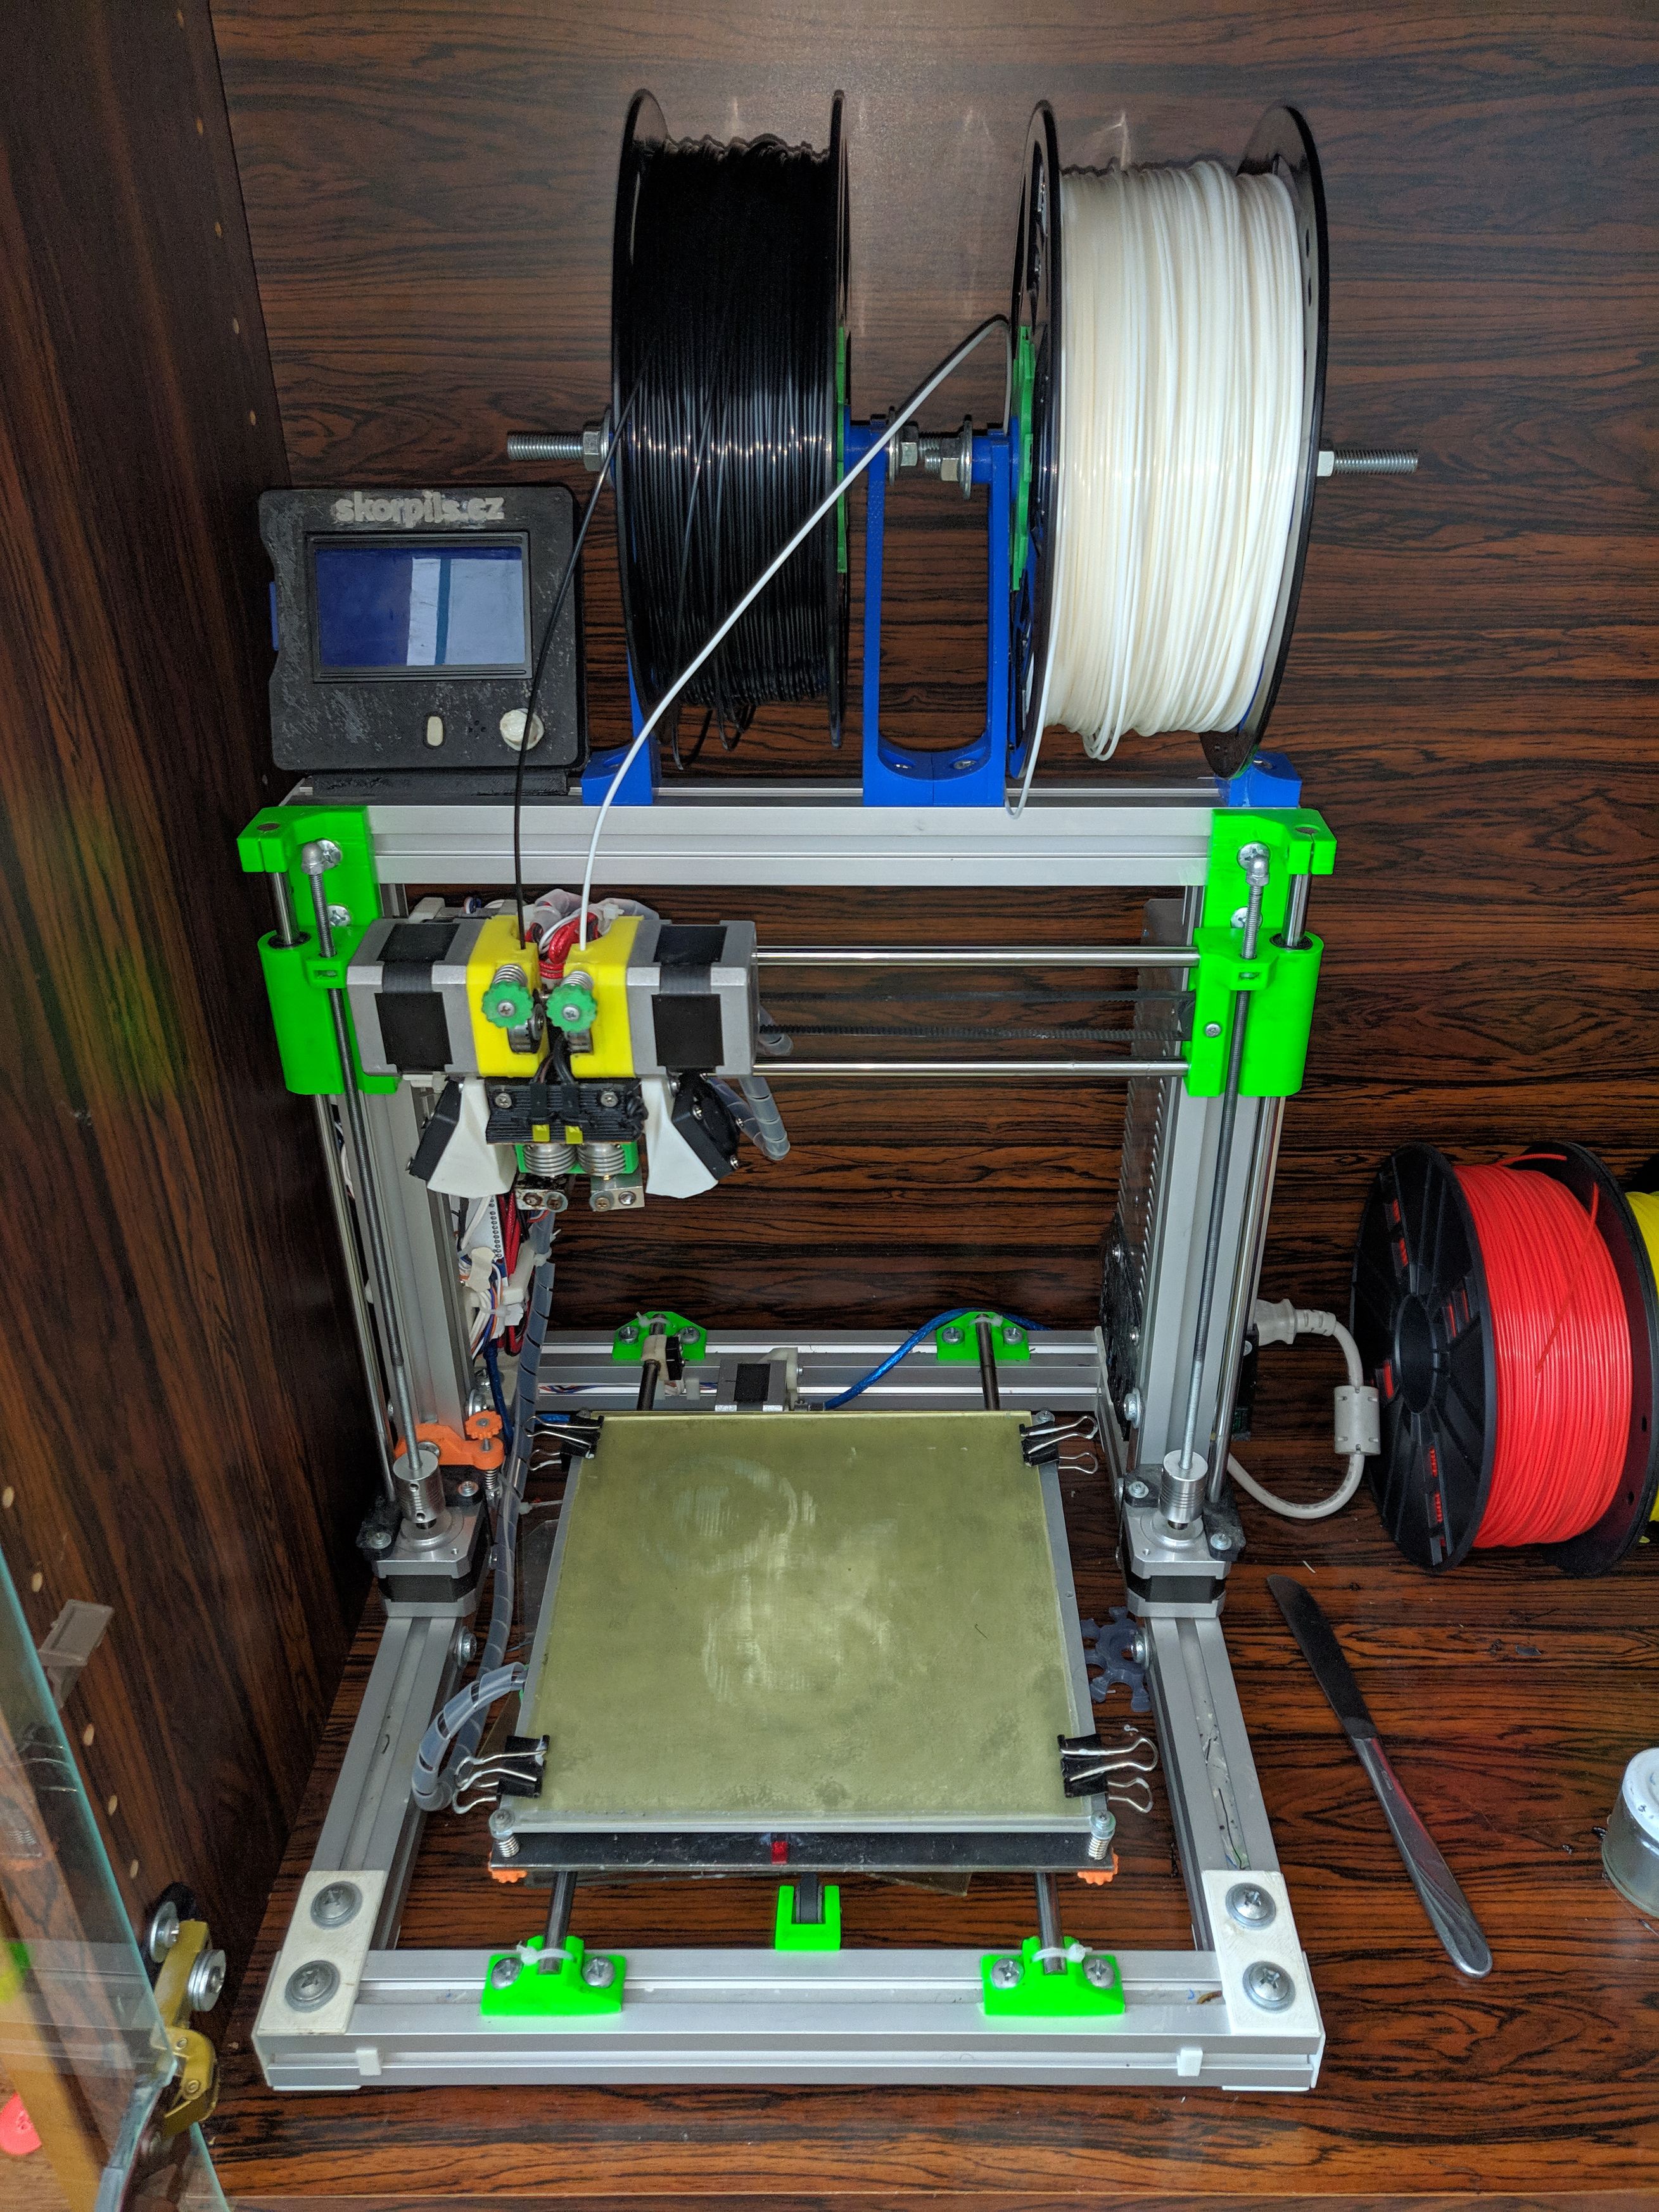
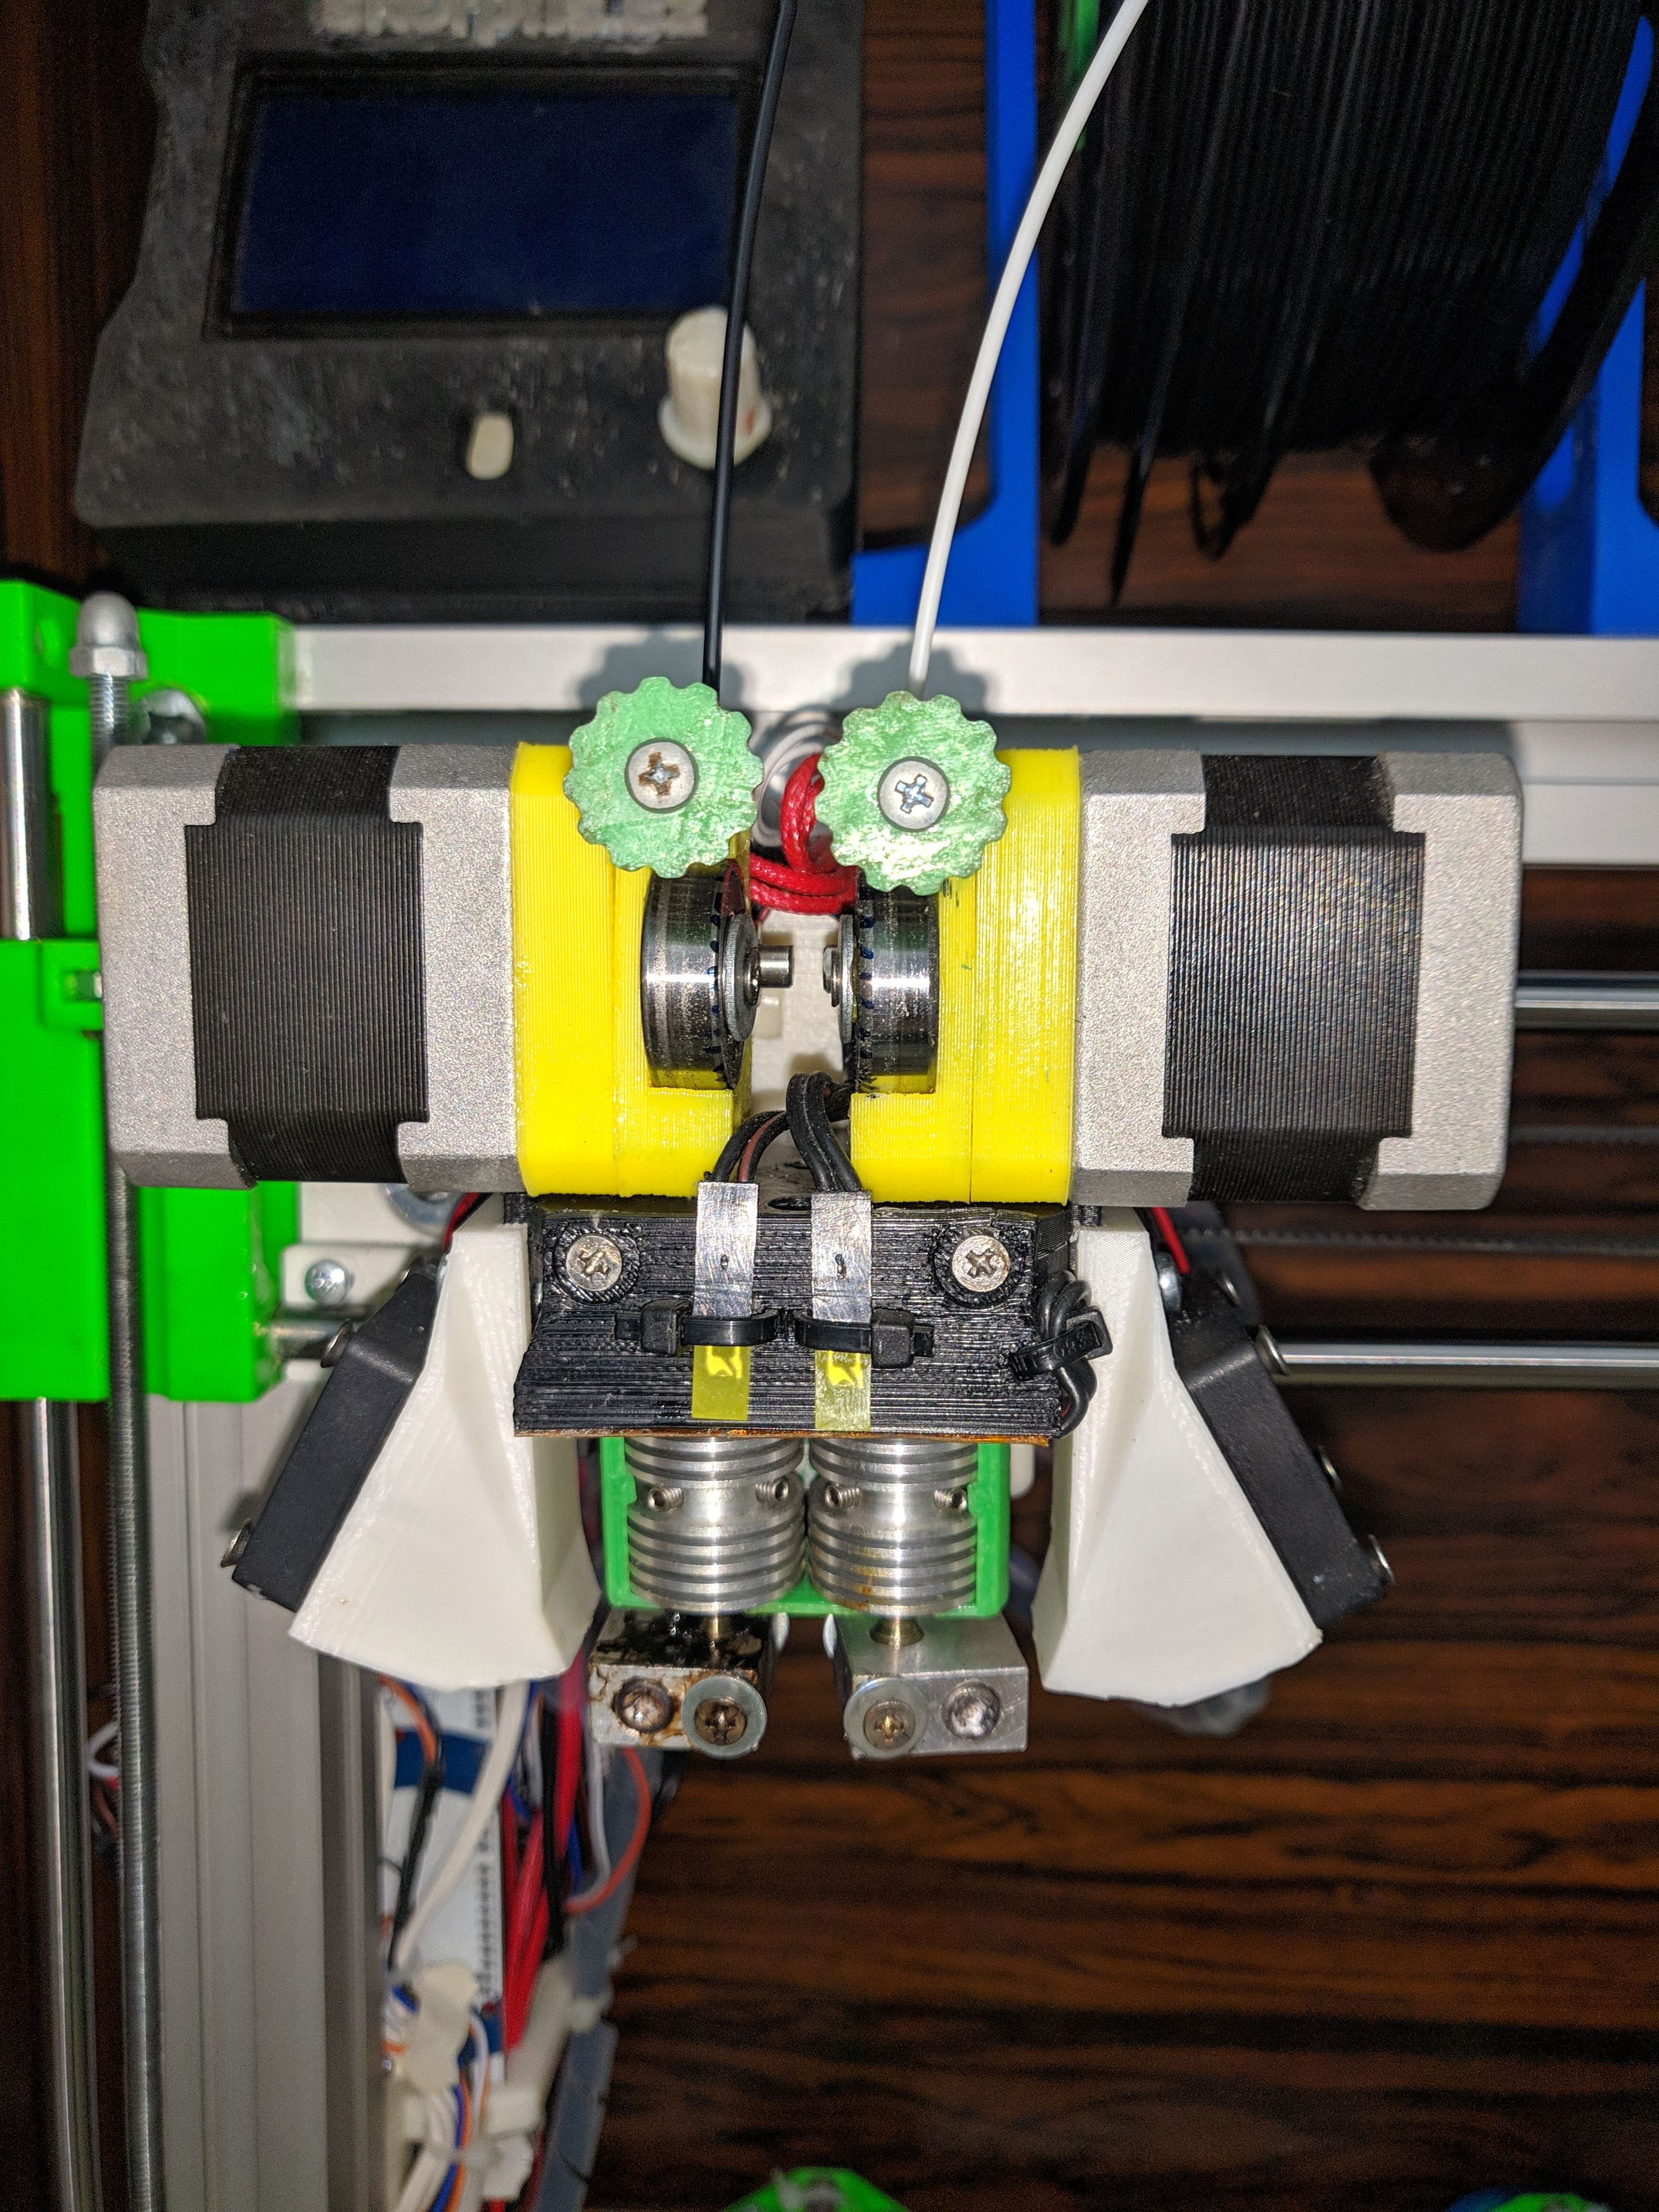
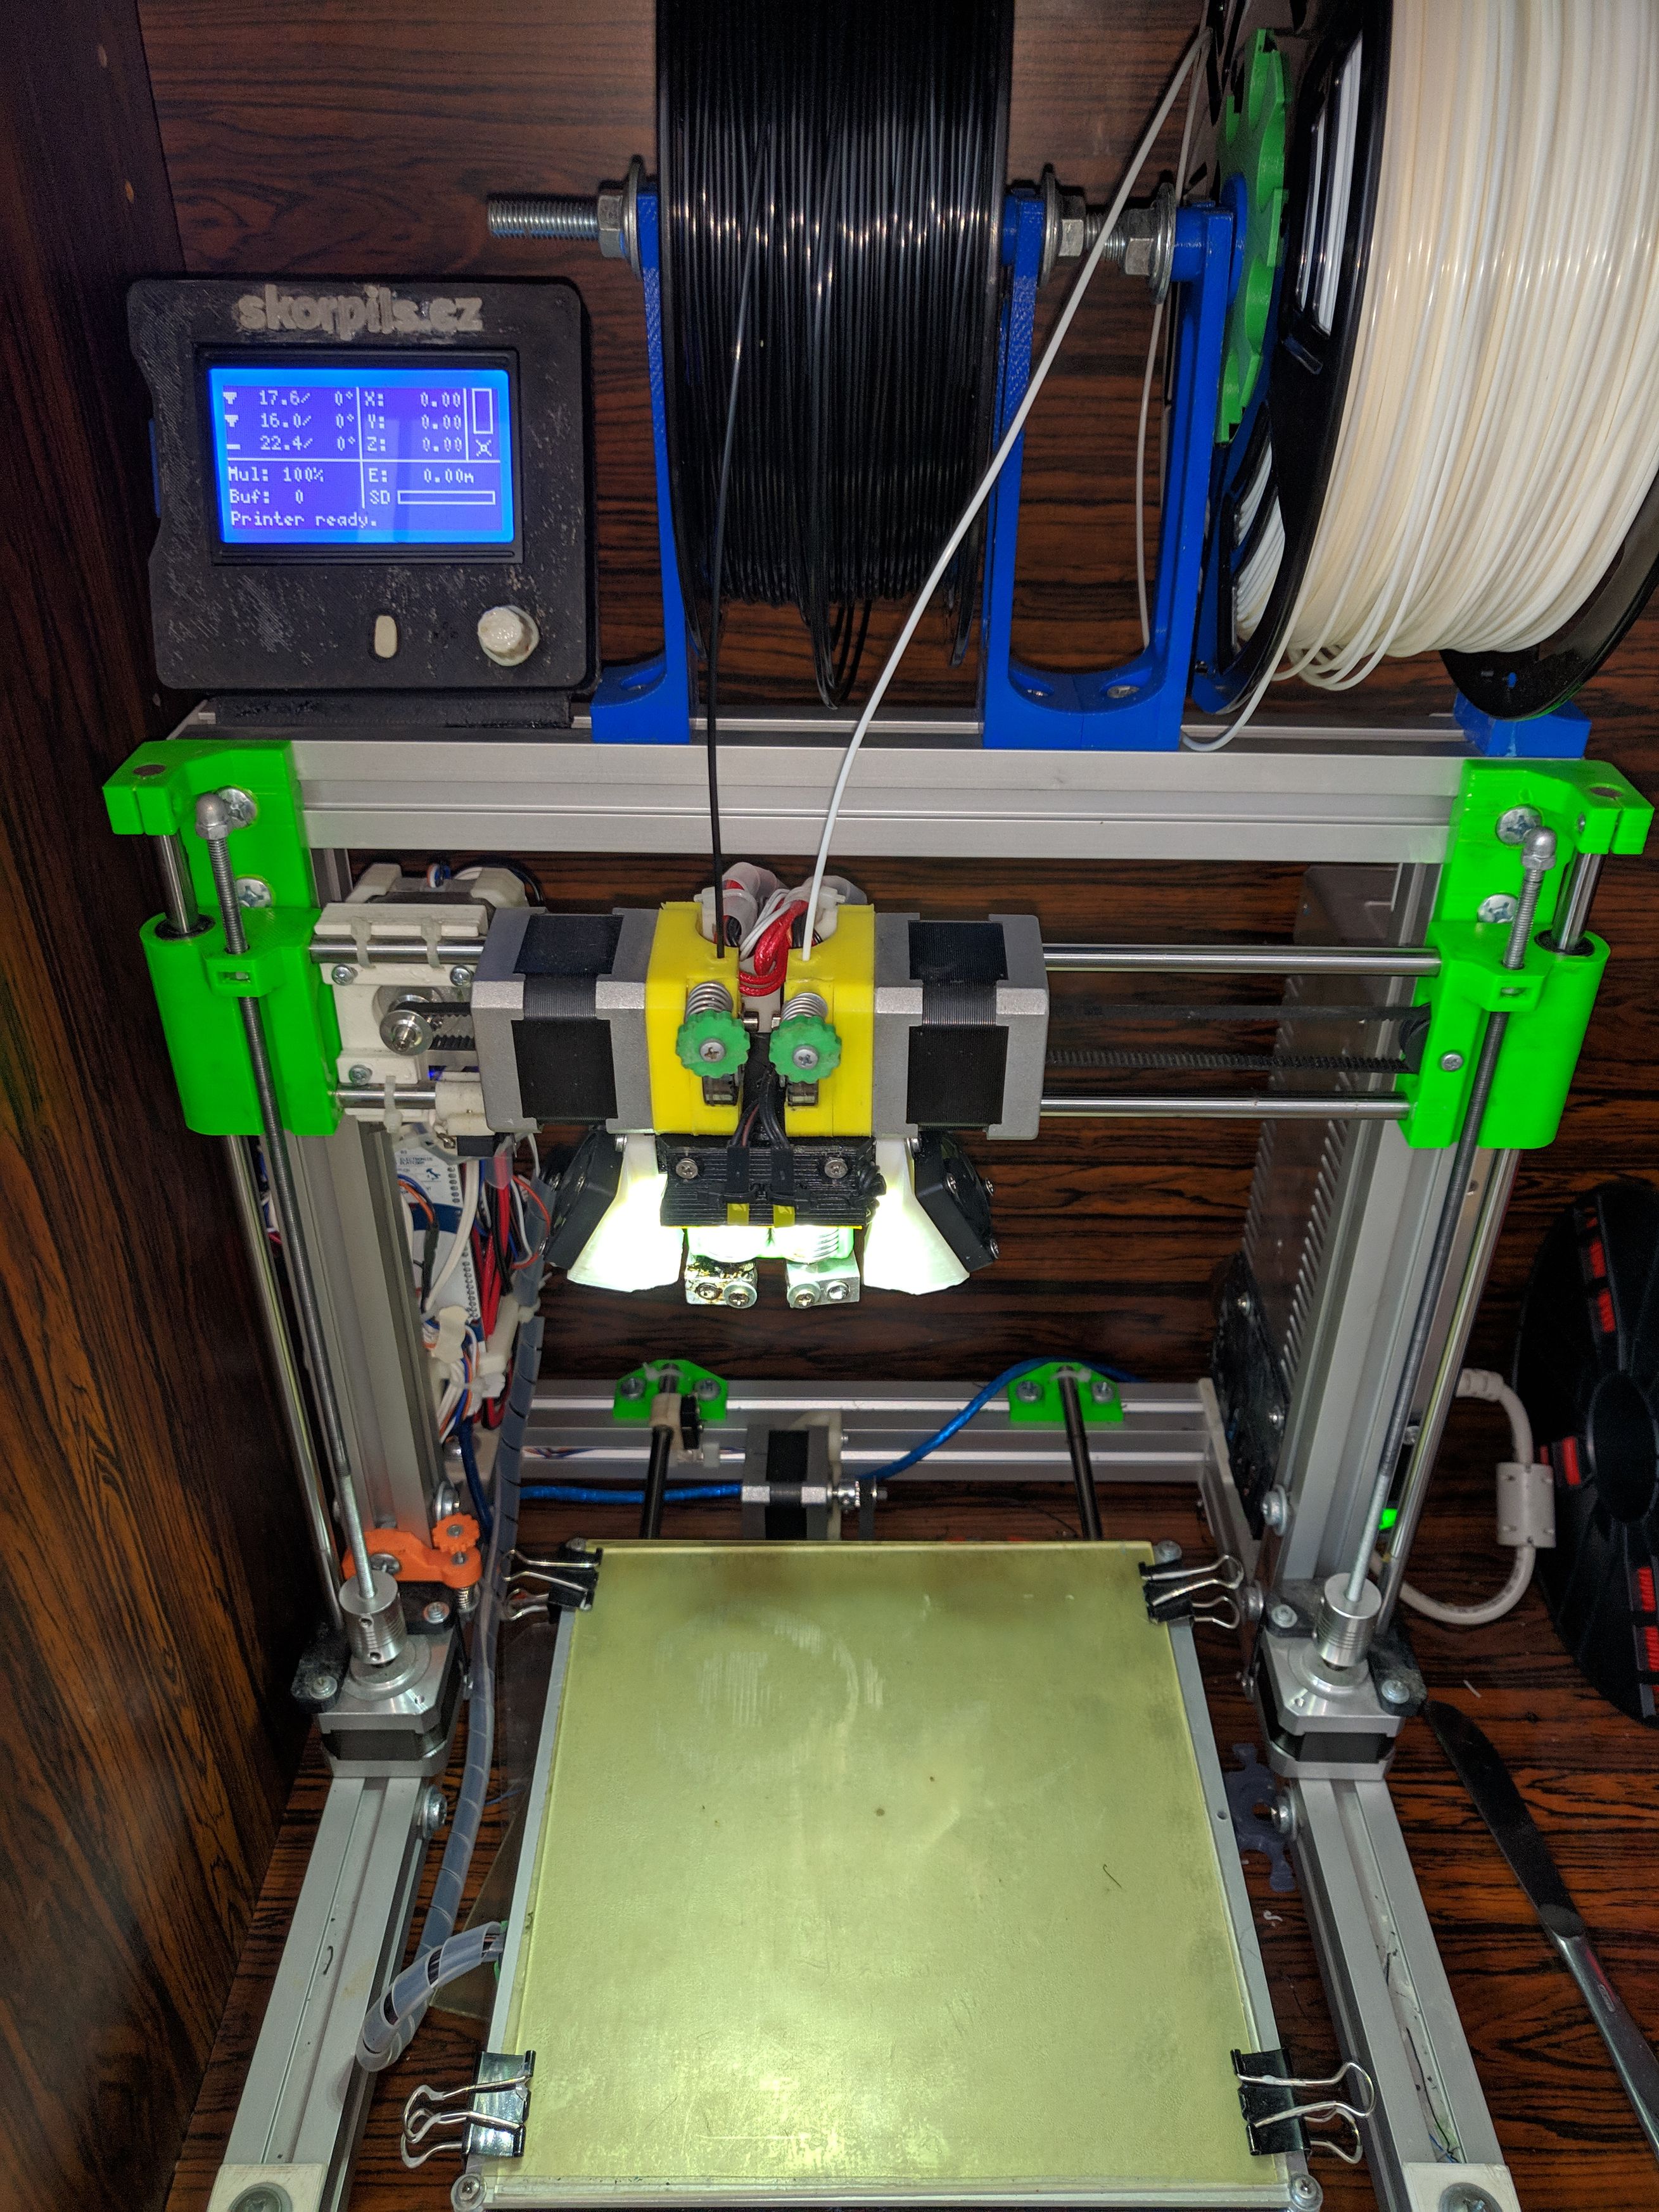
So I decided to upgrade my 3D printer. I took Rebelix X2 Dual as a base. It's an dual nozzle extension of Rebelix X2. It consists of a new printing head with two filament motors nad two heated nozzles. I had to buy two same batches of nozzle, heatstop and heatblock, but other parts I could reuse in the improved design and buy only the second one to make a pair (termistor, heating element, fans, motor...).
In comparison to the old printing head, the new one had no way of mounting led light. I have my printer in a case, where there is no much light, so having light source inbuilt on the printer is quite usefull for me. I used the biggest advantage of open source and extended the head design by adding led strip mounting piece.
I solved the problem with fuses by replacing them by standard car fuses. Here I also had to customize one of the plastic printer parts to have a nice mount for new fuses.
I also managed to fix the inconvencience with heatbed. Now I use a PEI foil instead of the glass. This foil made of special plastic has perfect properties. Printed object sticks to it well withou complicated cure. Furthermore I replaced the old heated bed by a new full aluminium one, which spreads heat more evenly on the surface.
The result is, I have 3D printer improved almost in all aspects. With all these big upgrades I also solved several details. I improved cable managment, improved cooling of electronics, new nozzles are mounted in a better way for easier calibration, I replaced few demaged plastic parts, created better filament spool holders... Oh I almost forgot. I added bluetooth module, so it can be controlled wireless. it is just a big success, let's print....
I added all new printer parts to the old list of parts.