
I bought a new pair of shelves above the bed. Nothing special, just Ikea. But right after mounting them on the wall I knew, that I also need to add a lamp in form of a LED strip under them. And If I say a lamp, I mean a dimmable smart lamp connected to my home system.
All my smart devices are connected to a Home Assistant server with a Google Assistent integration for voice control. Home Assistant can integrate many devices directly, but my favourite way is connection through open protocols like MQTT.
First i looked for a ready to use hardware. I need the device to be supported for 5 years and more, I don't want any single-use not upgradeable trash. Longer support can be achived on open devices with larger community around it. Thus I looked for a device, which can drive 2 LED strips independently, can connect two momentary switches, can connect through Wifi and maybe through MQTT and is shipped or can be flashed by open firmware.
On czech market I found only one module that mostly suits my needs: the Shelly RGBW2. It's built around ESP8266, a quite open chip with wifi and several IO lines. There are several open firmwares ready to flash on it. The module itself has PWM outputs for 4 led strips, but only one input for a switch. That is a problem. I want one lamp over each bed and I want them to be controlled separately without dependecy on smartphone or voice control. Smartphone and voice should be secondary in means of control.
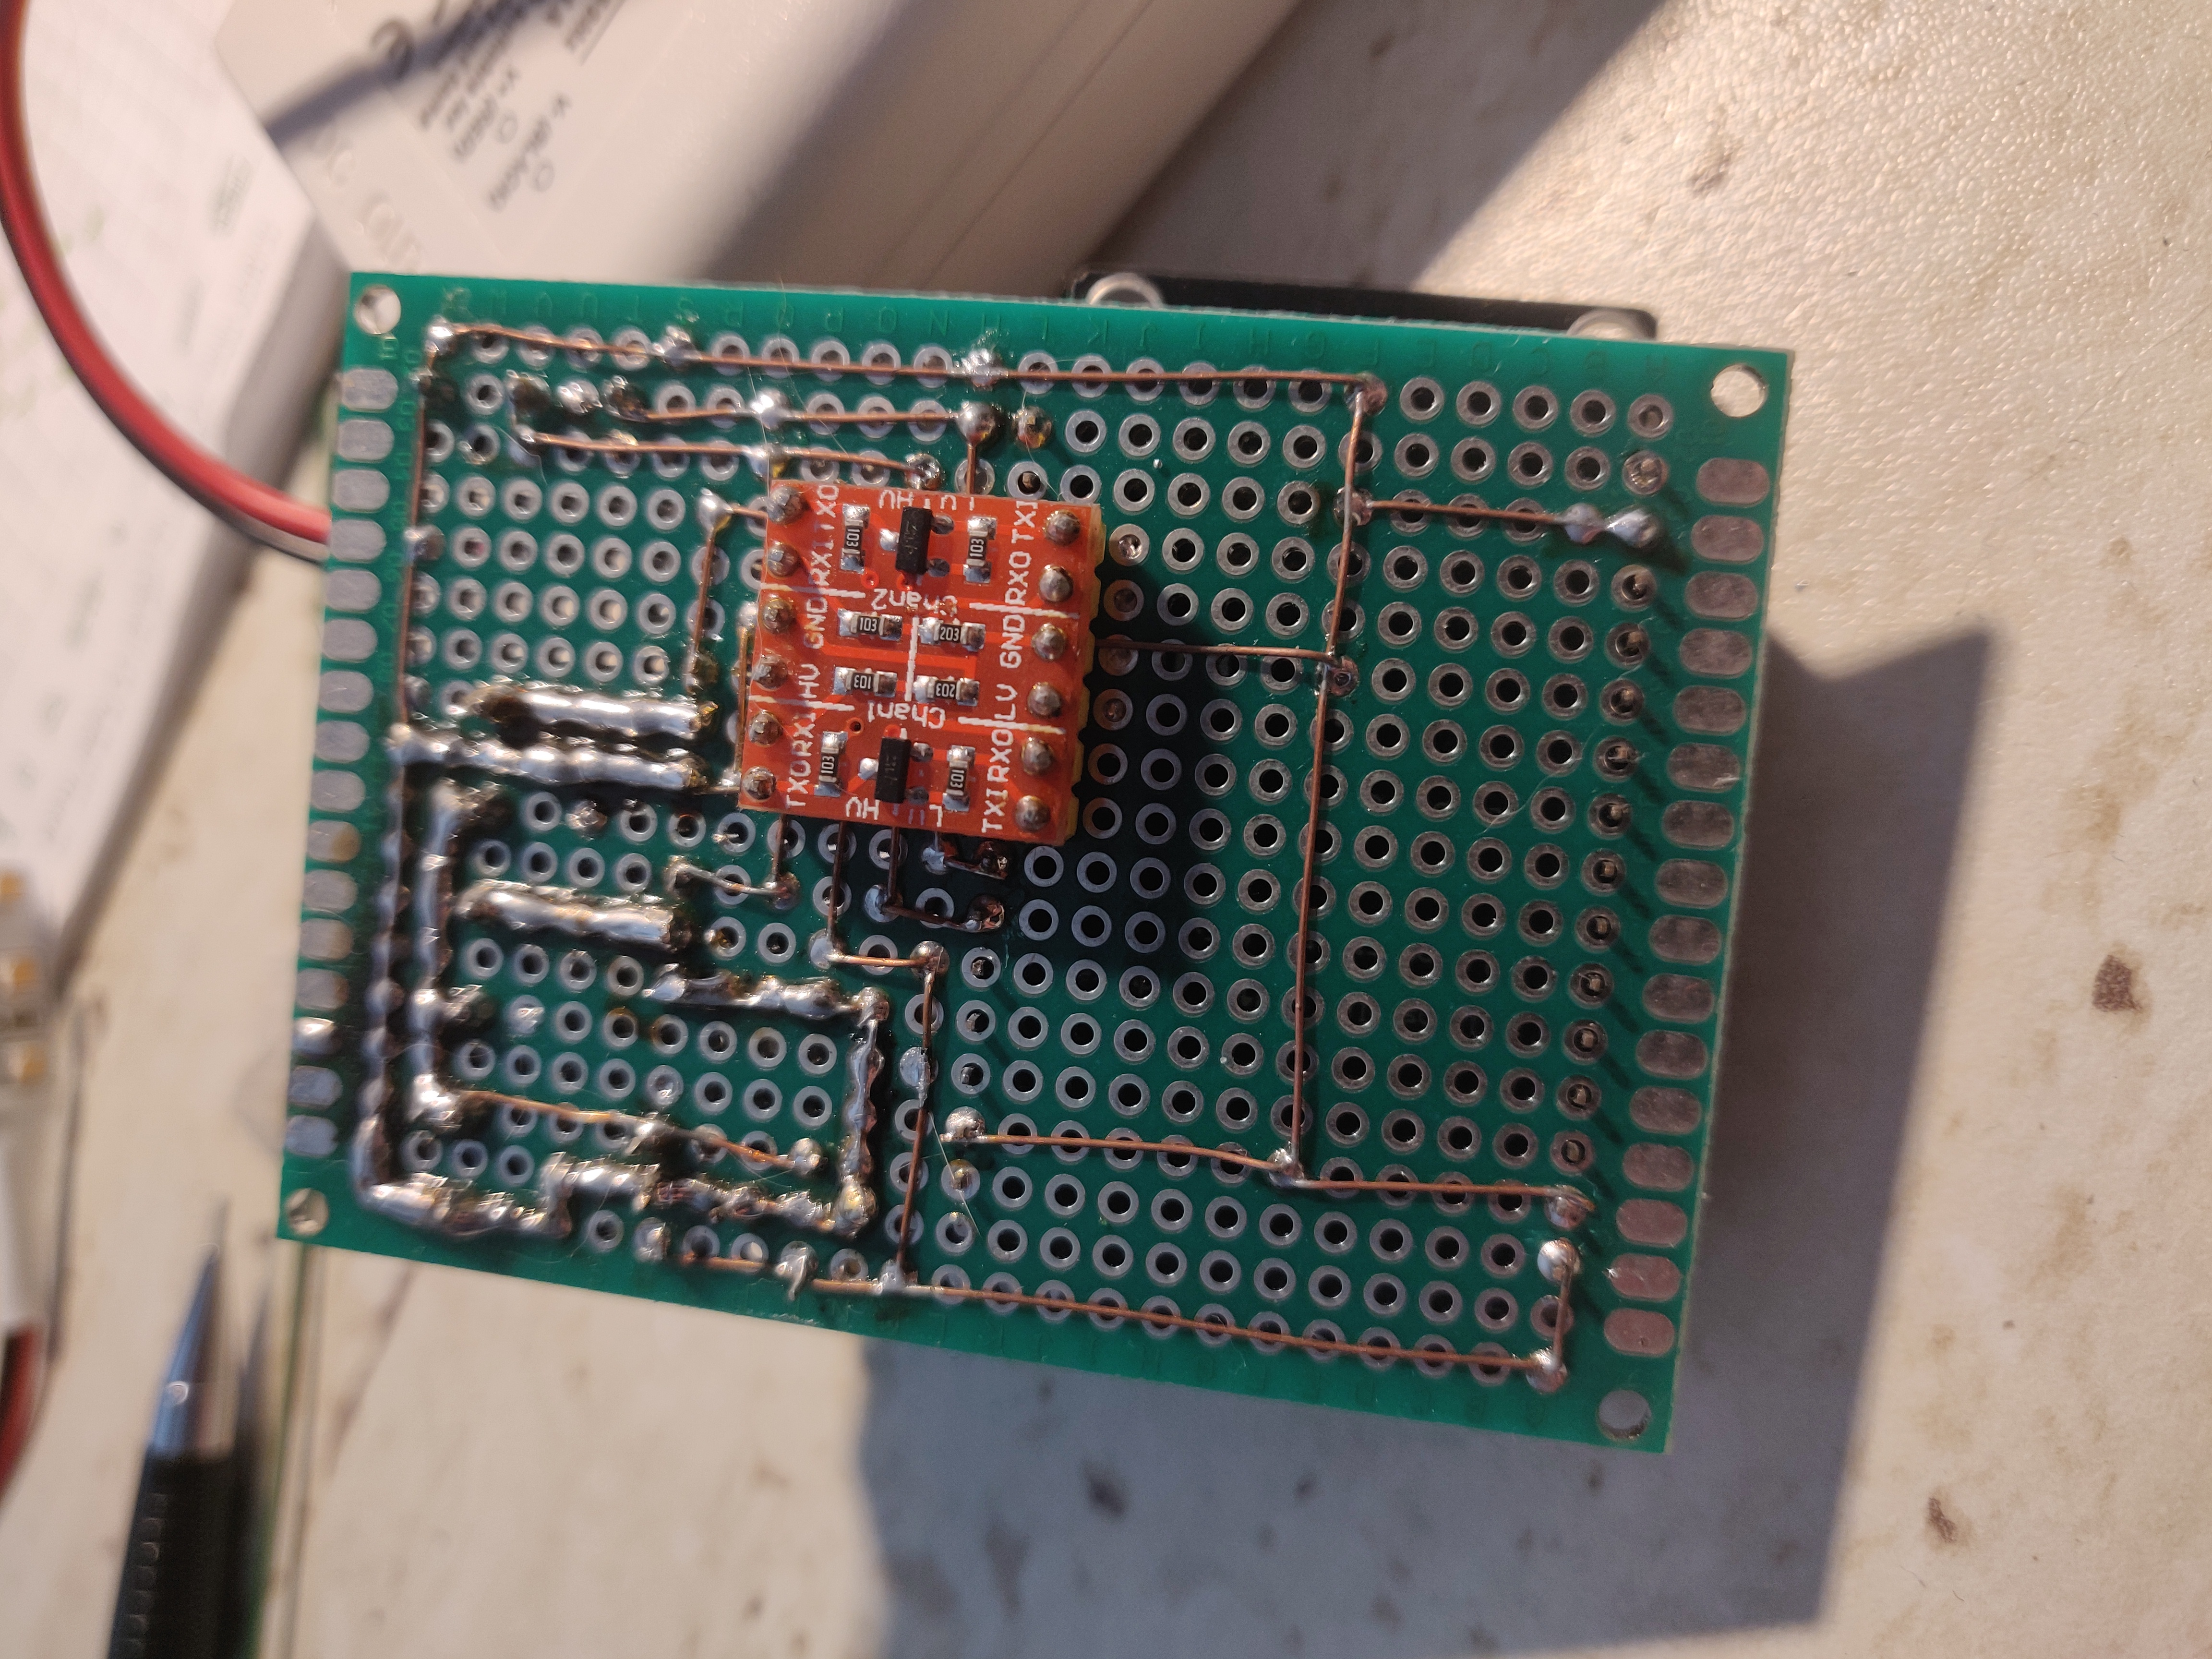
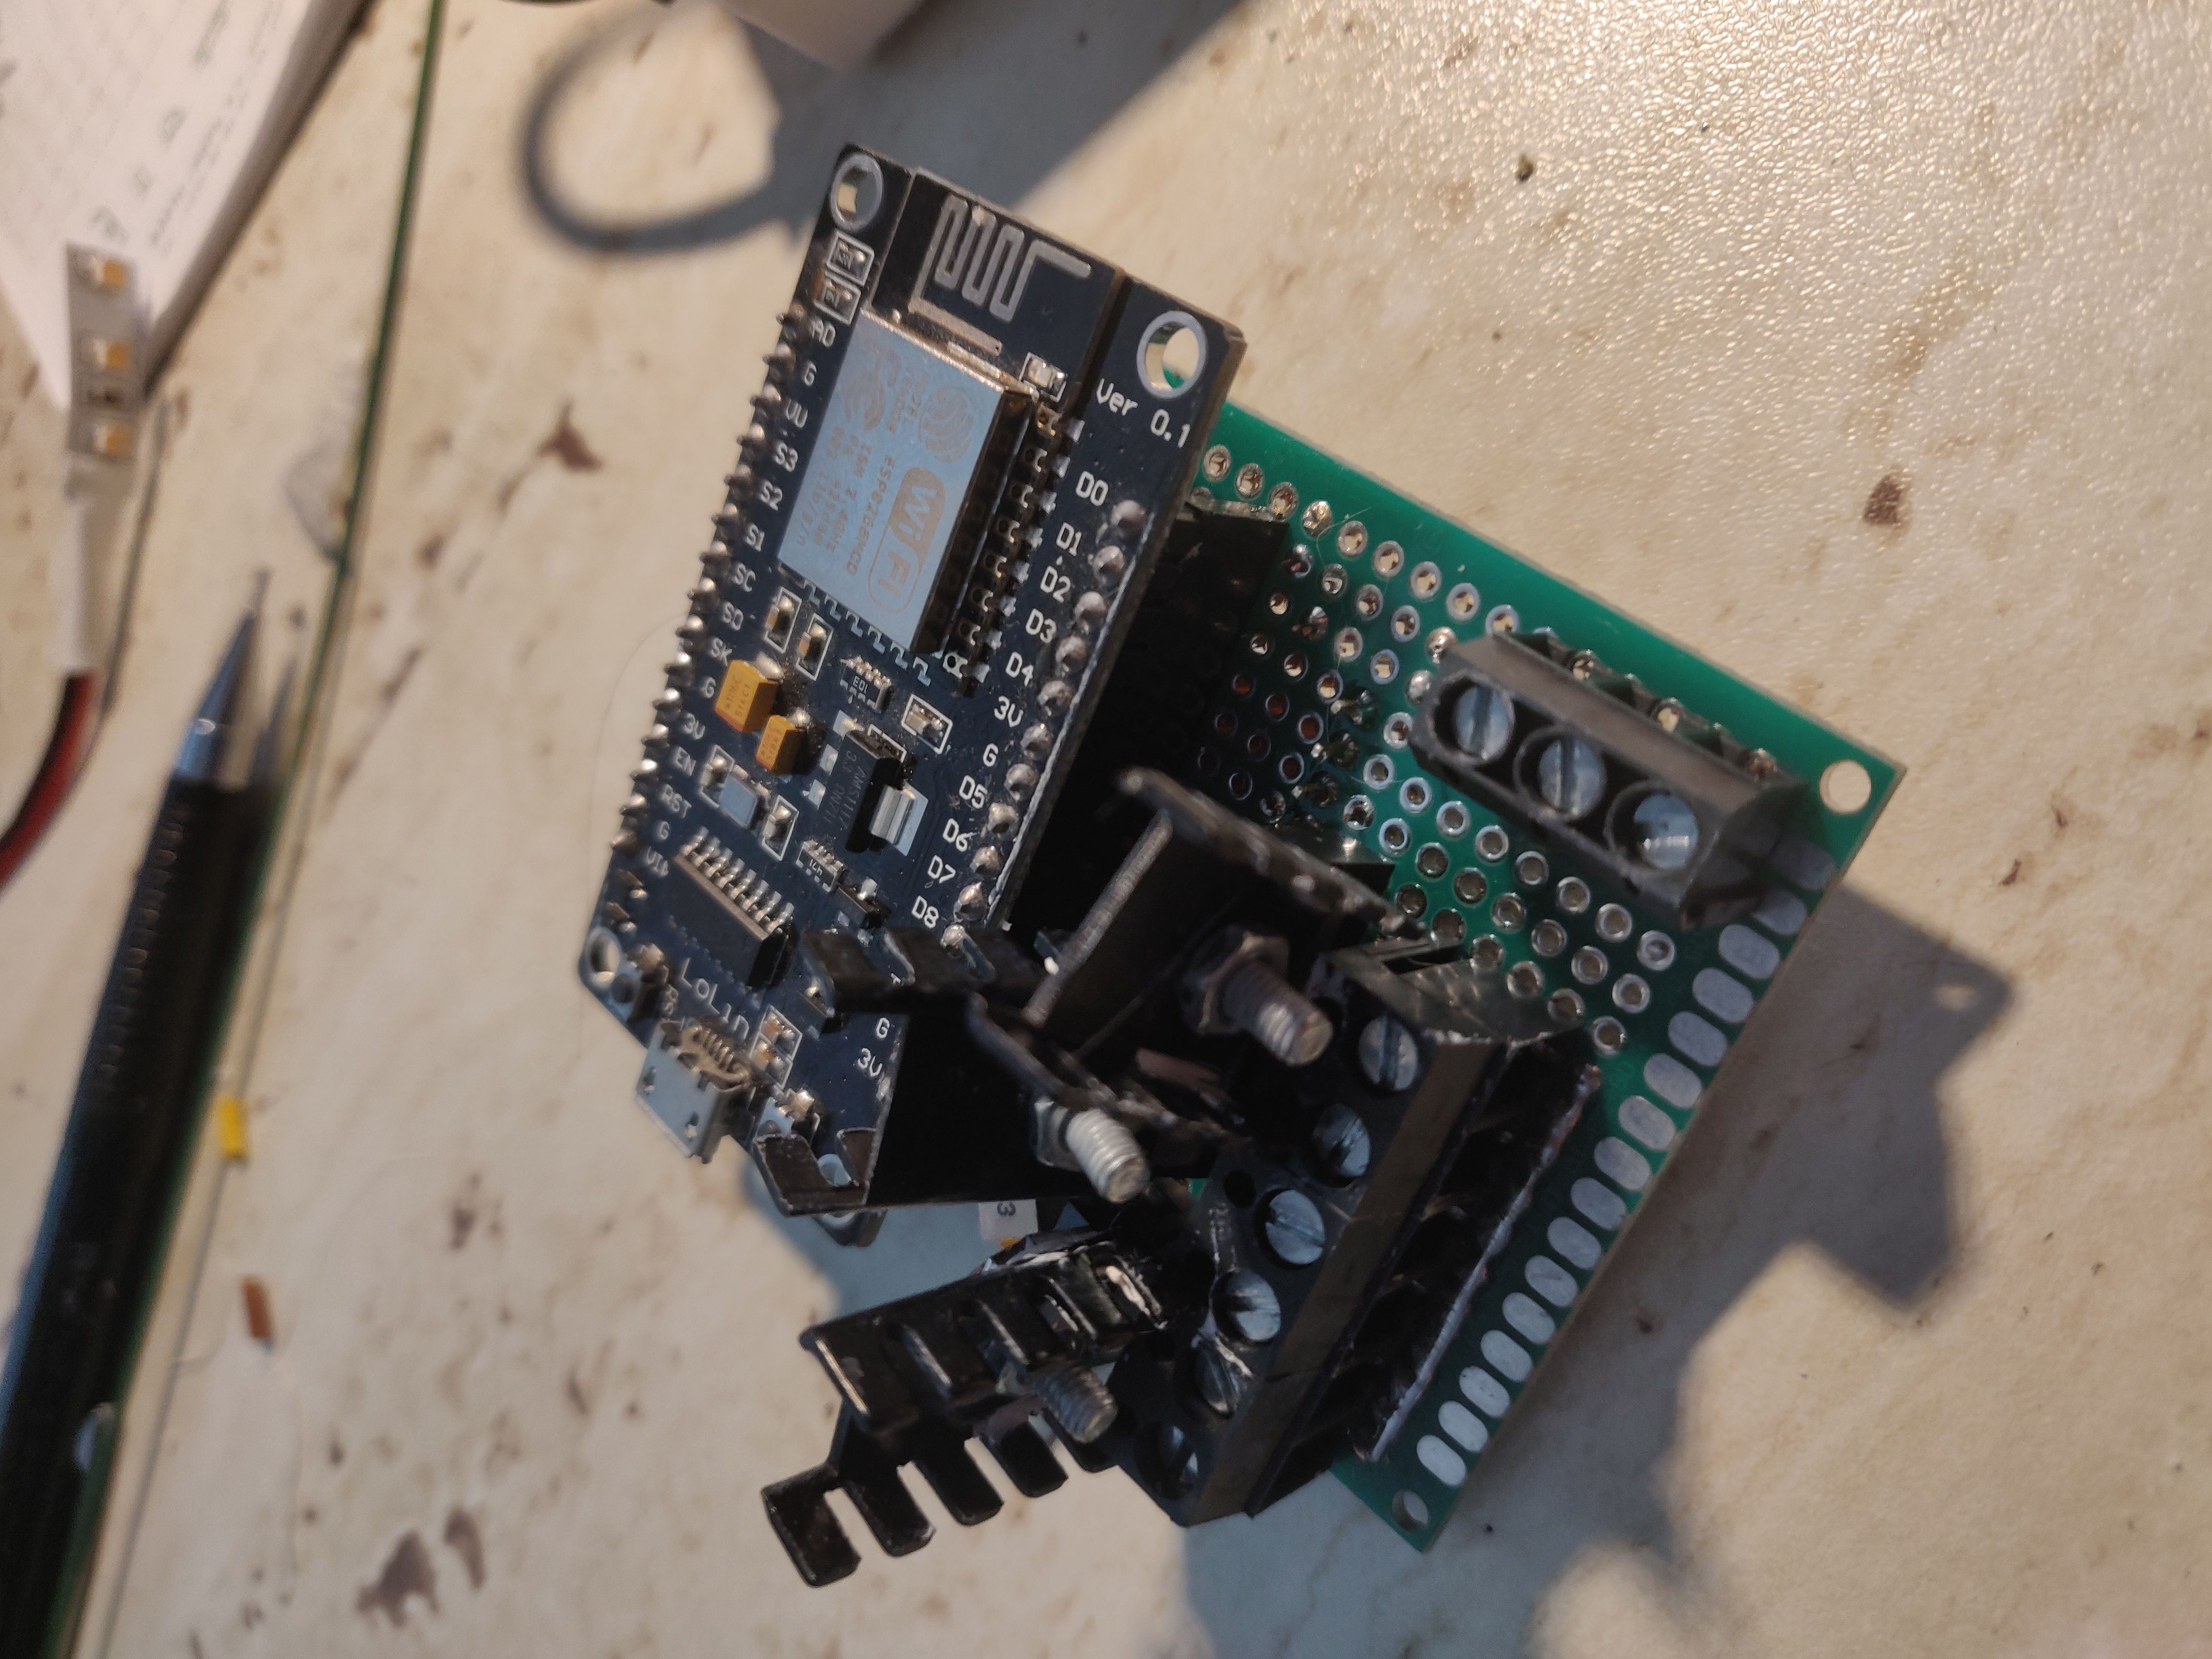
Luckilly I had several ESP8266 development boards at home, so I decided to hack my own lamp driver. It isn't complicated. I just bought 12V DC power supply, 5V voltage regulator and pair of mosfet transistors. And of course LED strips with warm light, with aluminium profiles to mount them and as heat sink, with light difuzing cover for even light distribution. The electric supply output power must be properly matched to the total length and type of LED strips.
As firmware i have chosen ESPHome. That's a set of software tools for ESP8266 and ESP32 processor family, which is configured by YAML file. The YAML defines what the firmware should do and on wich processor input/output. ESPHome then builds, compiles and flashes the firmware to the chip.
ESPHome can be run as docker container. It exposes simple web interface for managing devices and their firmware configs. First flash must be done using USB, but all later updates can be sent right through wifi (so called OTA). Firmware then can connect to Home Assistant server directly using dedicated integration api or by more general and open MQTT protocol. Both ways offer automatic device discovery. That means that all you have to do is to connect Home Assistant and the device to the same MQTT server and it is all set.
YAML configuration for my lamp driver looks as follows:
substitutions:
  id: bedroom_bed_light

esphome:
  name: bedroom-bed-light
  platform: ESP8266
  board: nodemcuv2

status_led:
  pin:
    number: D4
    inverted: true

wifi:
  ssid: !secret wifi_ssid
  password: !secret wifi_password

logger:

mqtt:
  broker: !secret mqtt_host
  username: ${id}
  password: !secret mqtt_pass
  discovery: true
  discovery_retain: true
  discovery_prefix: homeassistant

ota:
  password: !secret ota_pass

binary_sensor:
  - platform: gpio
    id: ${id}_wall_switch
    pin:
      number: D6
      mode: INPUT_PULLUP
      inverted: True
    name: "Bedroom wall bed switch"
    on_multi_click:
      - timing:
          - ON for at most 0.5s
          - OFF for at least 0.5s
        then:
          - light.toggle:
              id: ${id}_wall
      - timing:
          - ON for at most 0.5s
          - OFF for at most 0.5s
          - ON for at most 0.5s
          - OFF for at least 0.5s
        then:
          - light.dim_relative:
              id: ${id}_wall
              relative_brightness: +25%
      - timing:
          - ON for 0.5s to 2s
          - OFF for at least 0.5s
        then:
          - light.dim_relative:
              id: ${id}_wall
              relative_brightness: -25%
  - platform: gpio
    id: ${id}_door_switch
    pin:
      number: D7
      mode: INPUT_PULLUP
      inverted: True
    name: "Bedroom door bed switch"
    on_multi_click:
      - timing:
          - ON for at most 0.5s
          - OFF for at least 0.5s
        then:
          - light.toggle:
              id: ${id}_door
      - timing:
          - ON for at most 0.5s
          - OFF for at most 0.5s
          - ON for at most 0.5s
          - OFF for at least 0.5s
        then:
          - light.dim_relative:
              id: ${id}_door
              relative_brightness: +25%
      - timing:
          - ON for 0.5s to 2s
          - OFF for at least 0.5s
        then:
          - light.dim_relative:
              id: ${id}_door
              relative_brightness: -25%


output:
  - platform: esp8266_pwm
    id: ${id}_wall_mosfet
    pin:
      number: D5
  - platform: esp8266_pwm
    id: ${id}_door_mosfet
    pin:
      number: D2

light:
  - platform: monochromatic
    id: ${id}_wall
    name: "Bedroom wall bed light"
    output: ${id}_wall_mosfet
  - platform: monochromatic
    id: ${id}_door
    name: "Bedroom door bed light"
    output: ${id}_door_mosfet
It defines the name of the device for autodetection, the wifi credentials, MQTT credentials and OTA password. Next there are lists of switch inputs and LED strip outputs. And at last there is a definition of PWM dimming on the output and mapping of button press-release combinations to several actions like toggle the lamp on/off to to increase/decrease brightness.
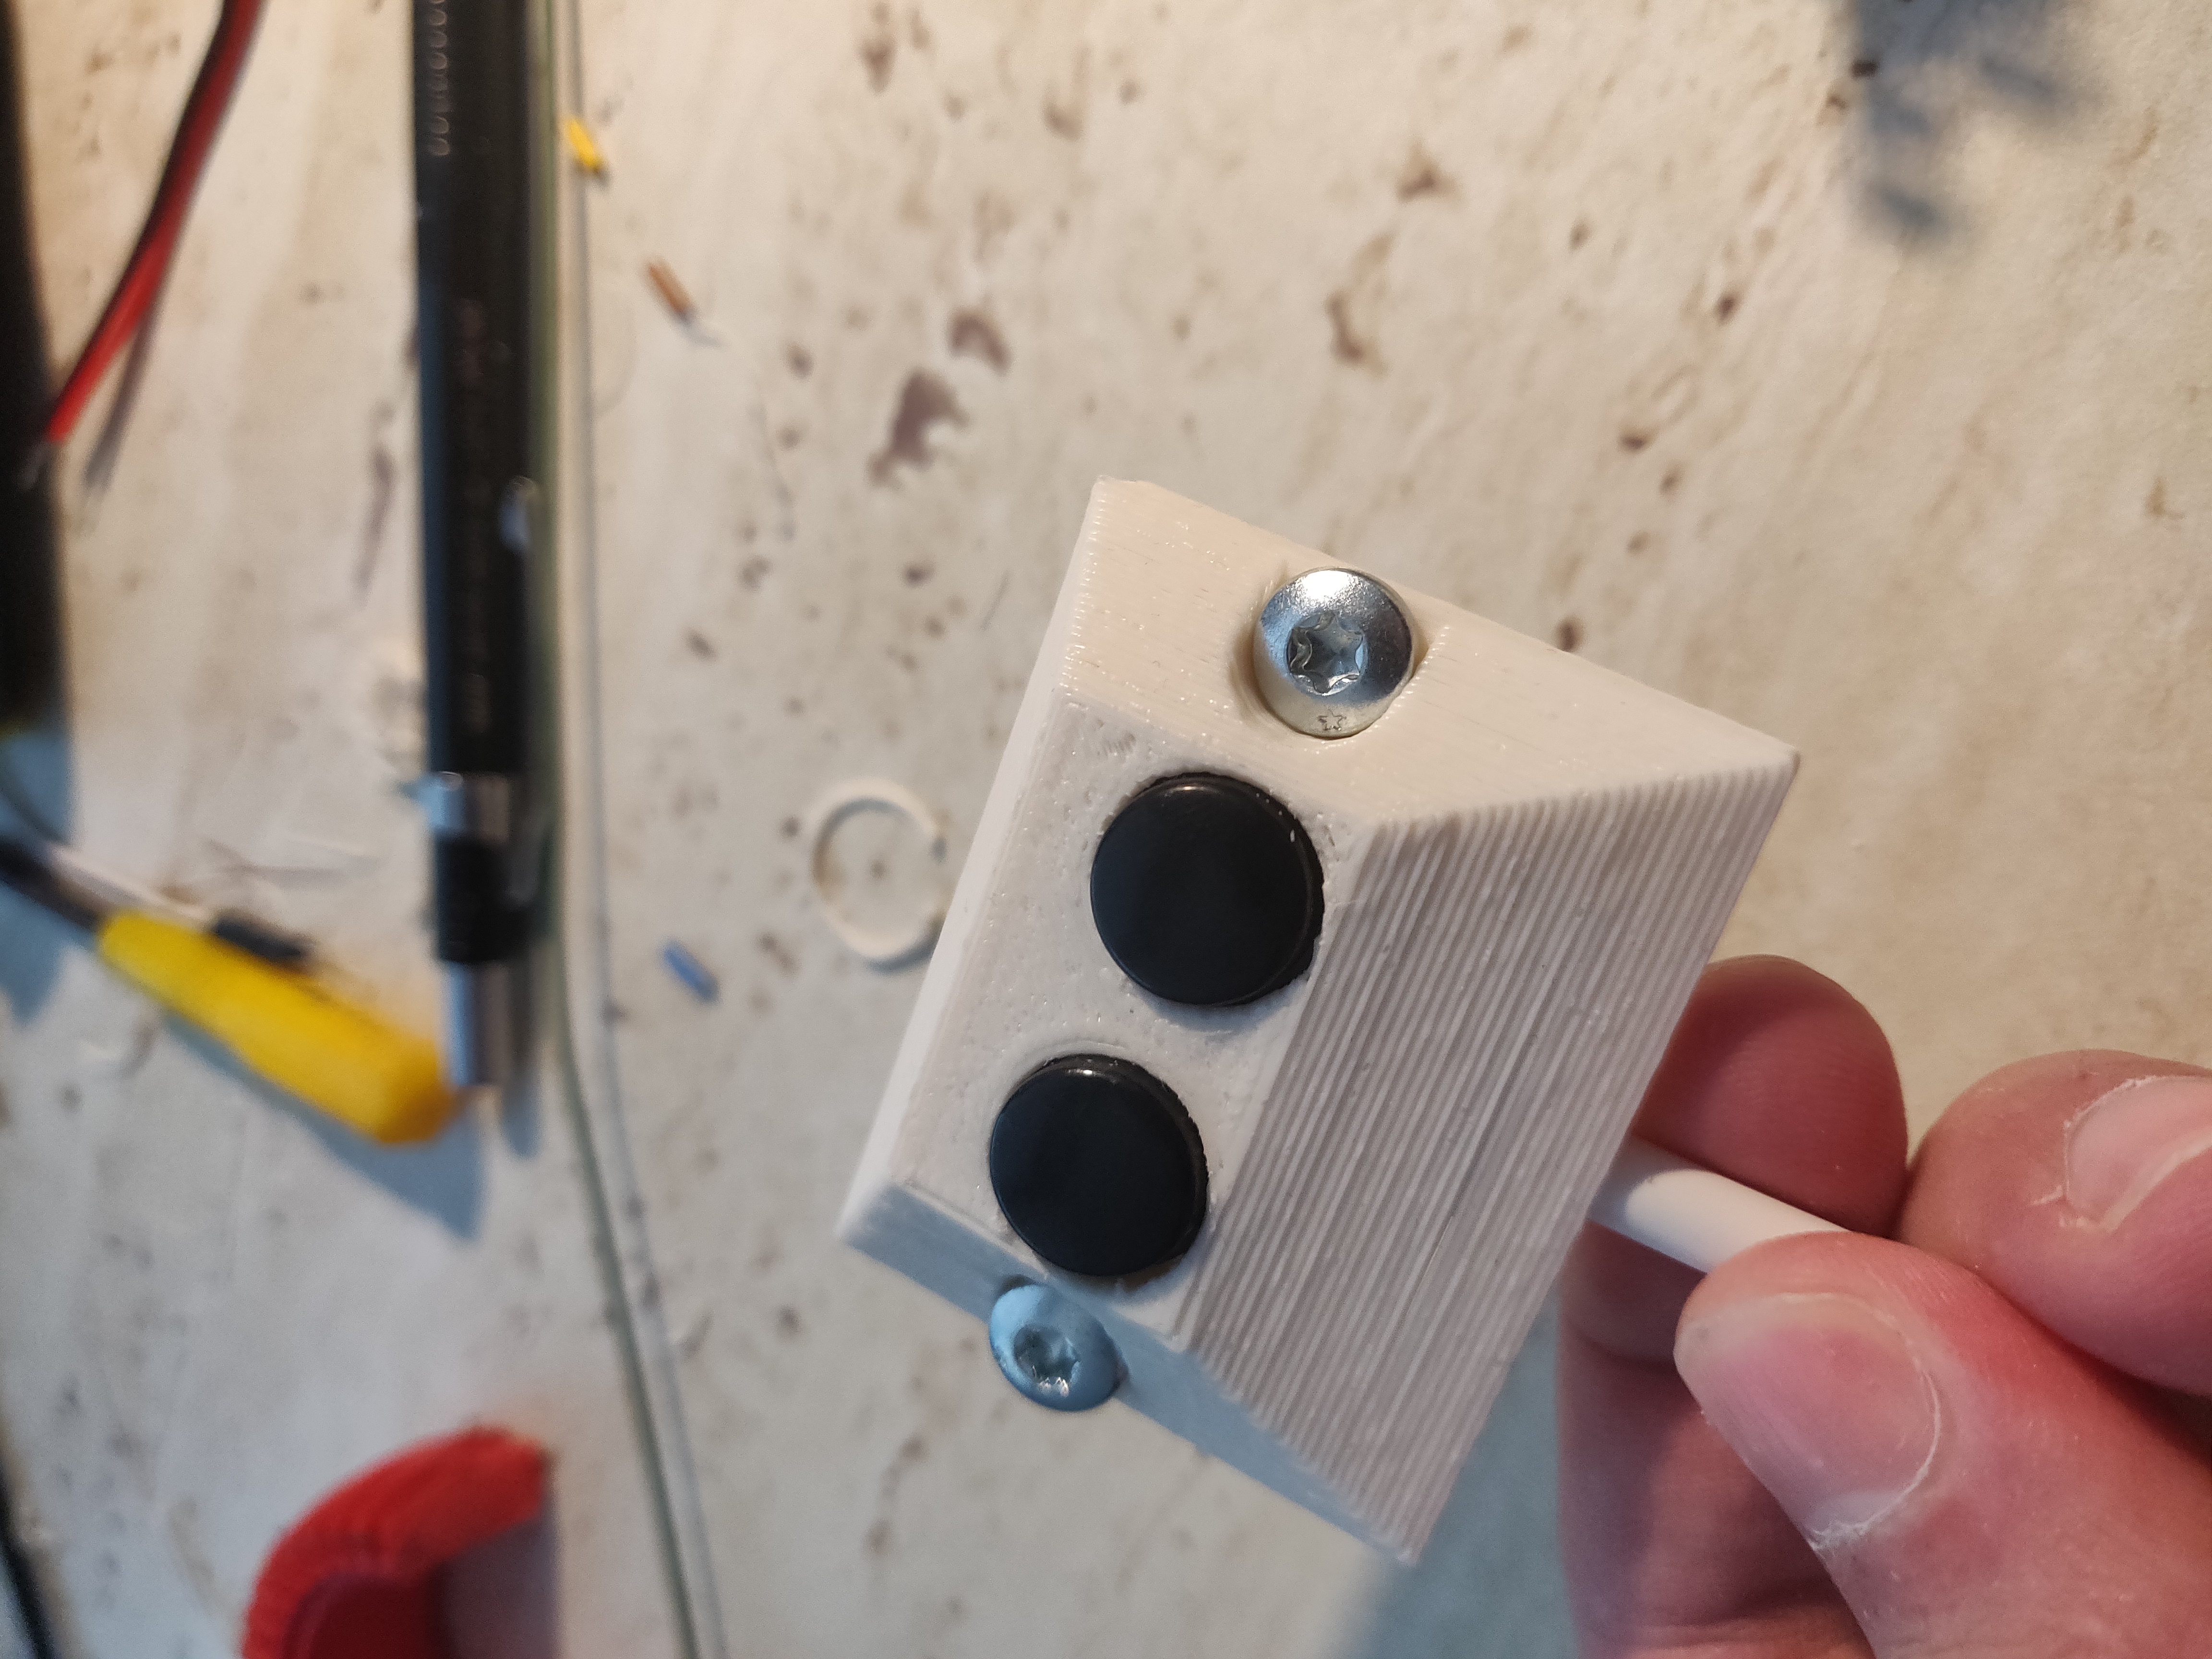
At the end I also 3D printend minimalistic enclosure for lamp switches and mounted it on the wall between beds. This way both switches are easilly reachable for both sleepers. All the electronics is mounted under the bed.
And these are all the pieces of the puzzle. The result is double bed lamp with dimming and voice control. Such a long text for such a little project... 🙂